tFLOW is a powerful digital and large format automation workflow that simplifies difficult file management tasks and processes to optimize efficiency and production throughput.
In this tutorial, I prepare two business cards for printing. The business cards will be preflighted for digital printing and imposed on an A3 sheet size. For preflighting and imposition, I use two callas pdfToolbox Profiles. The created preflight profile has several checks and fixes to optimize the PDF files for digital printing. To create the imposition, I built a workflow Process Plan Profile.
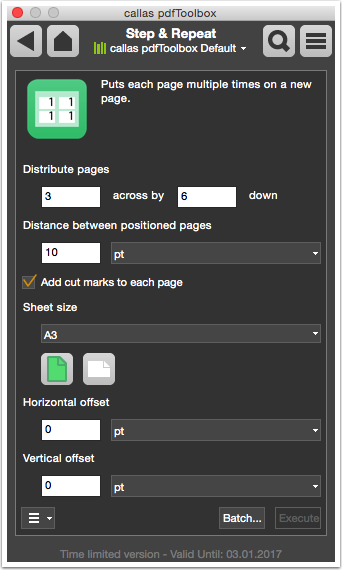
In callas pdfToolbox I created a Switchboard Action that imposed landscape business cards on an A3 portrait sheet size. I use the Step and Repeat technology, three cards horizontal across by six vertical. Between the cards a distance of 10pt will be add. Also cut marks to each card.
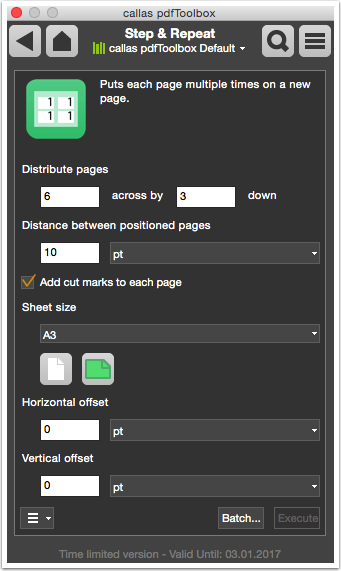
In callas pdfToolbox I created a second Switchboard Action that imposed portrait business cards on an A3 landscape sheet size. I use the Step and Repeat technology, six cards horizontal across by three vertical. Between the cards a distance of 10pt will be add. Also cut marks to each card.
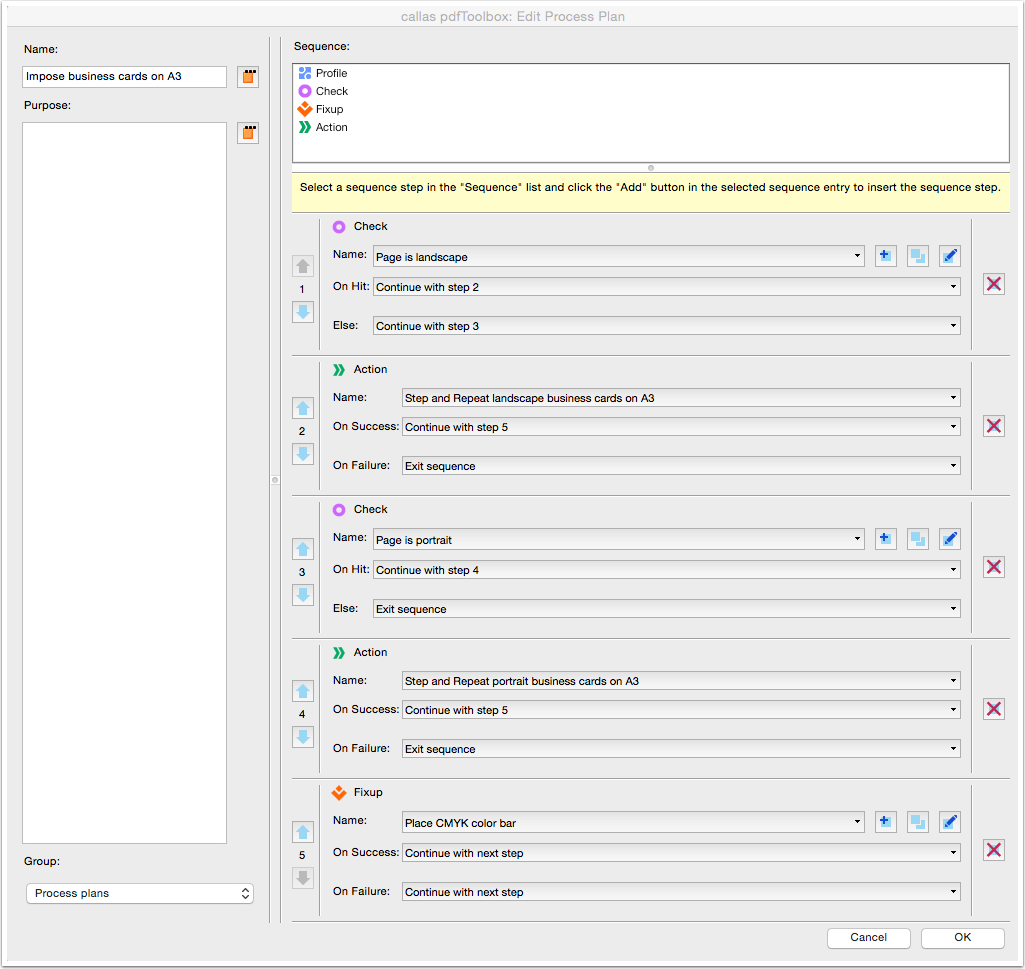
In callas pdfToolbox you can create a workflow with a Process Plan Profile. The Process Plan Profile checks first on landscape business cards. If landscape, the Switchboard Action that is build to imposed landscape business cards will apply. If not, the business card is portrait which trigger the portrait business card Switchboard Action. At the end, on landscape and portrait imposed business cards sheets, a CMYK color bar will be place.
Sign in with an admin account.
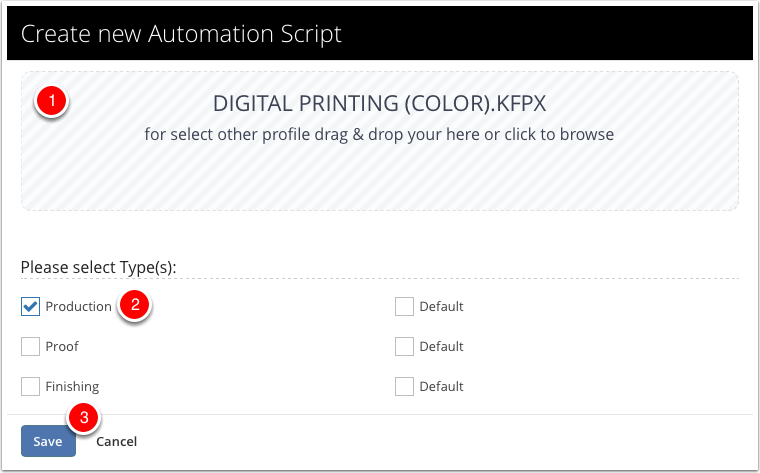
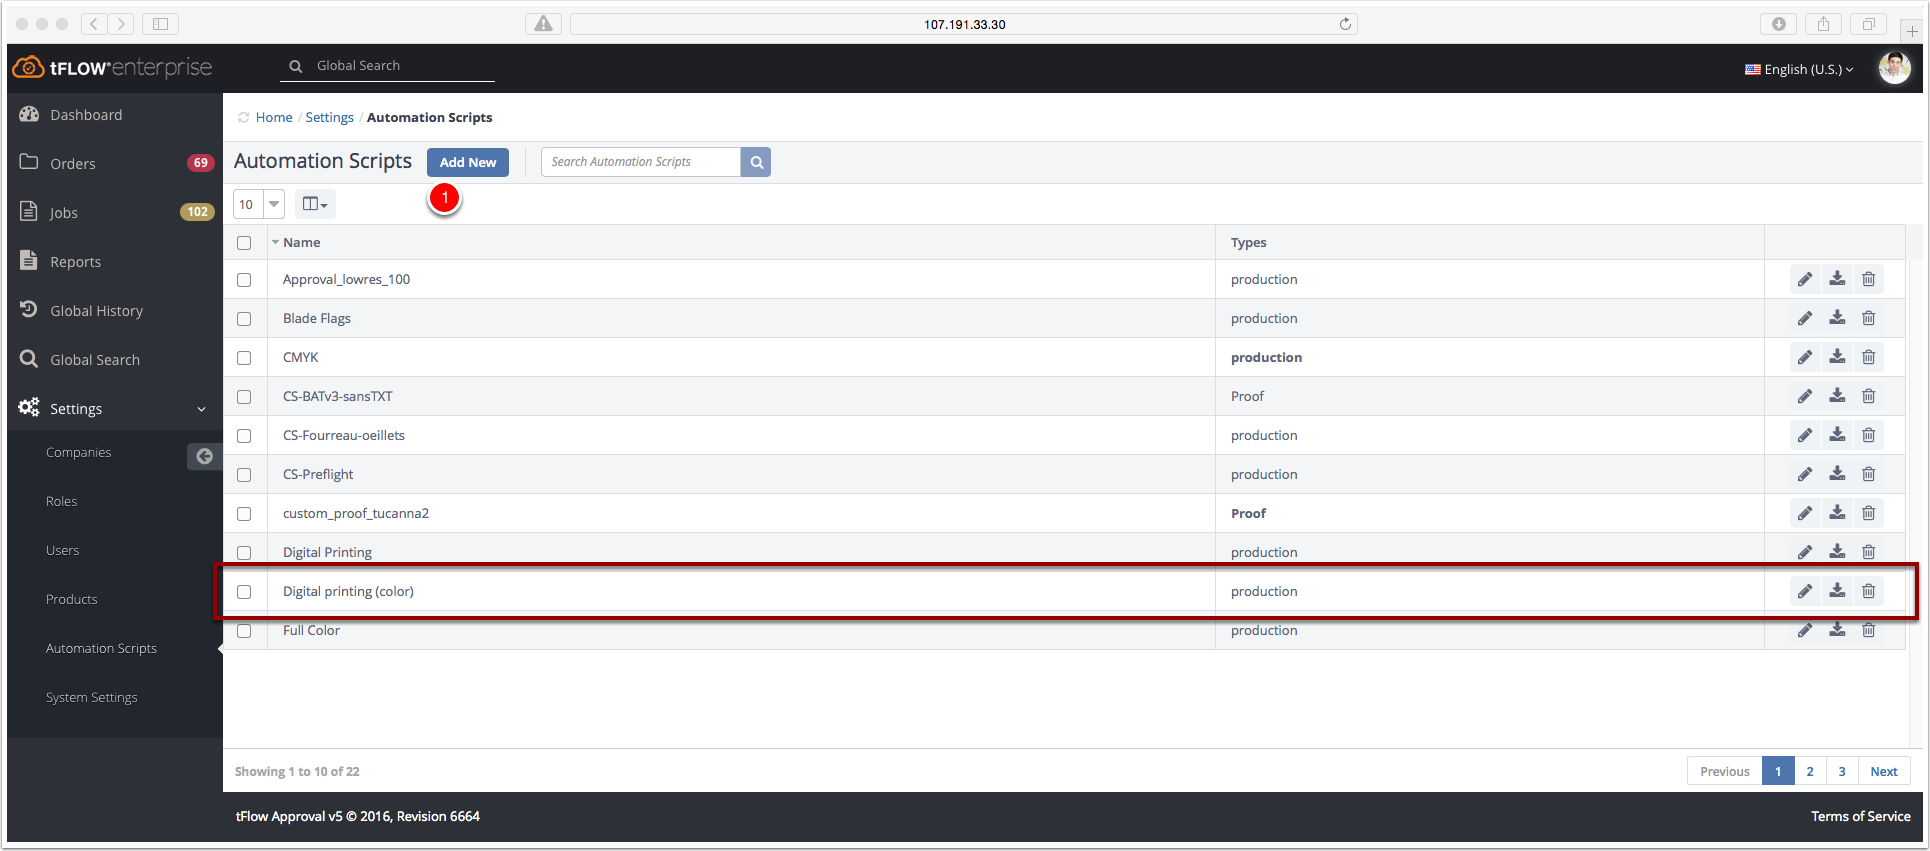
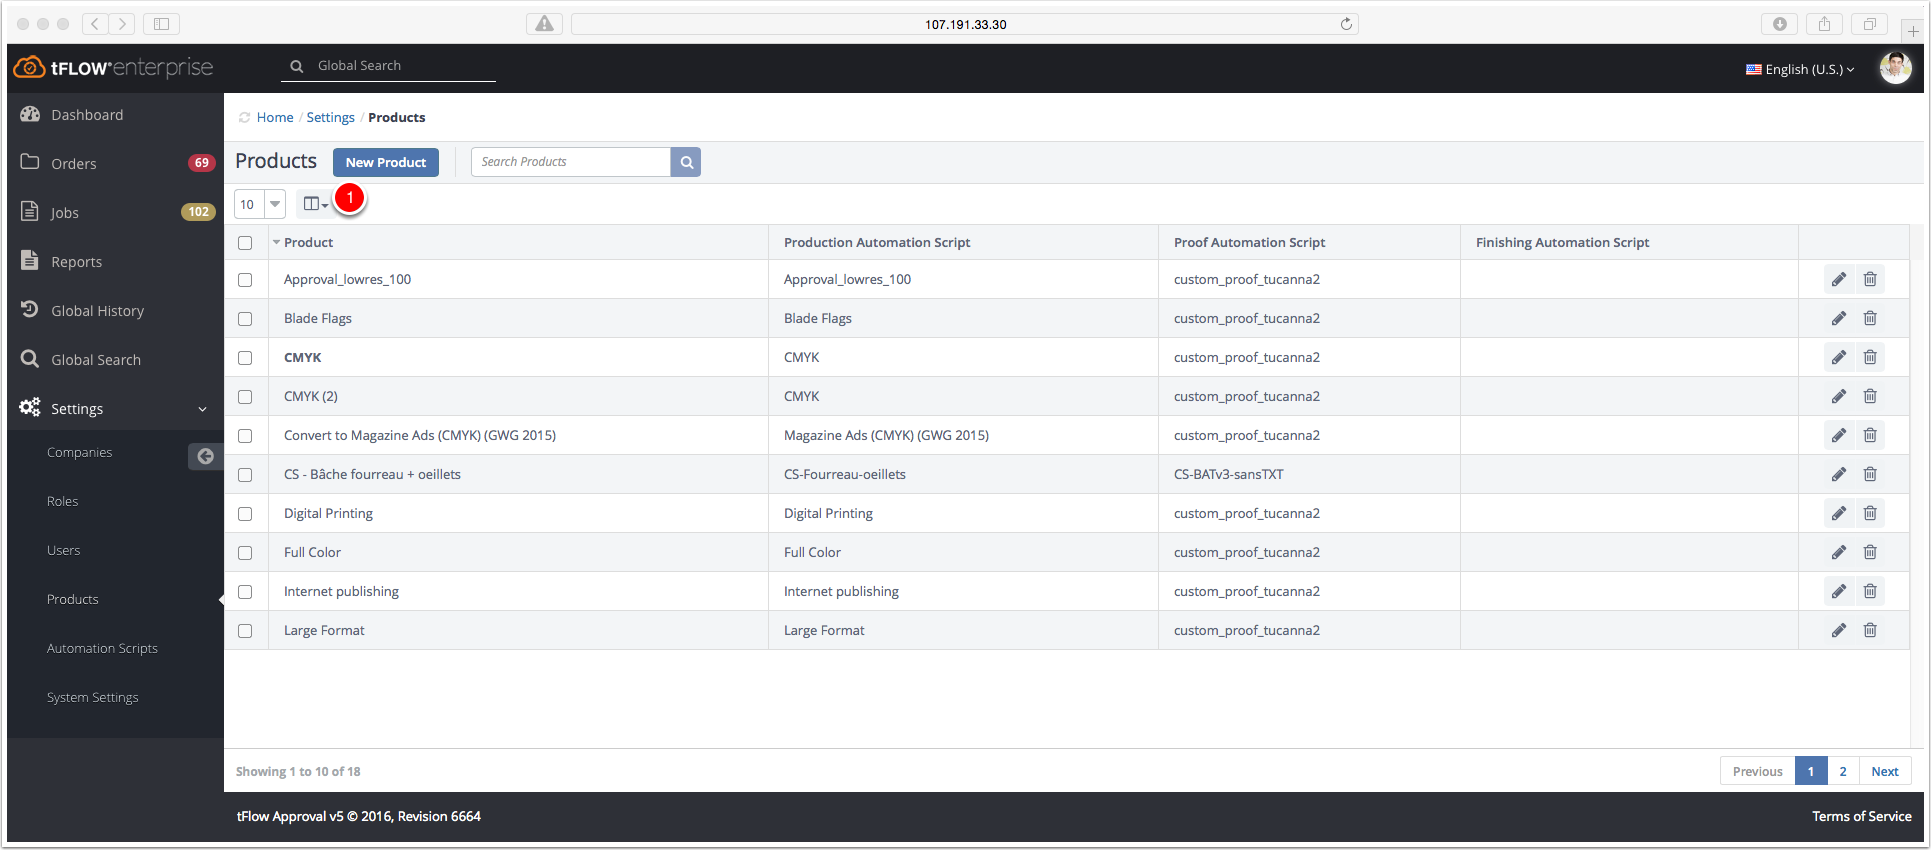
The automation script "Digital printing (color)" is added in the Automation Scripts list.
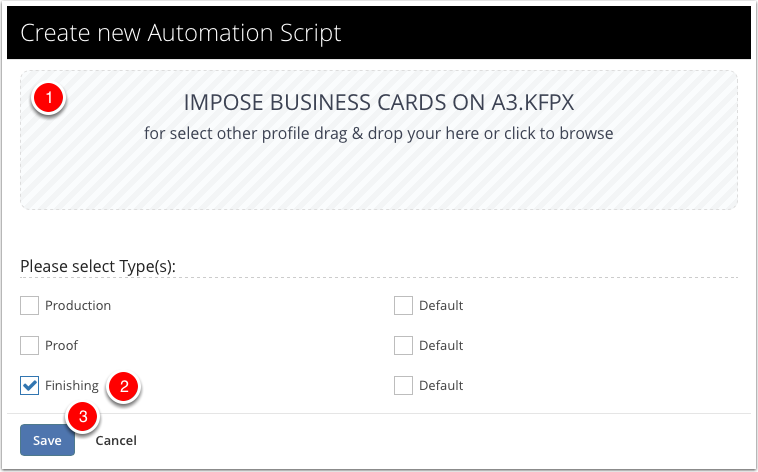

The automation script "Impose business cards on A3" is added in the Automation Scripts list.

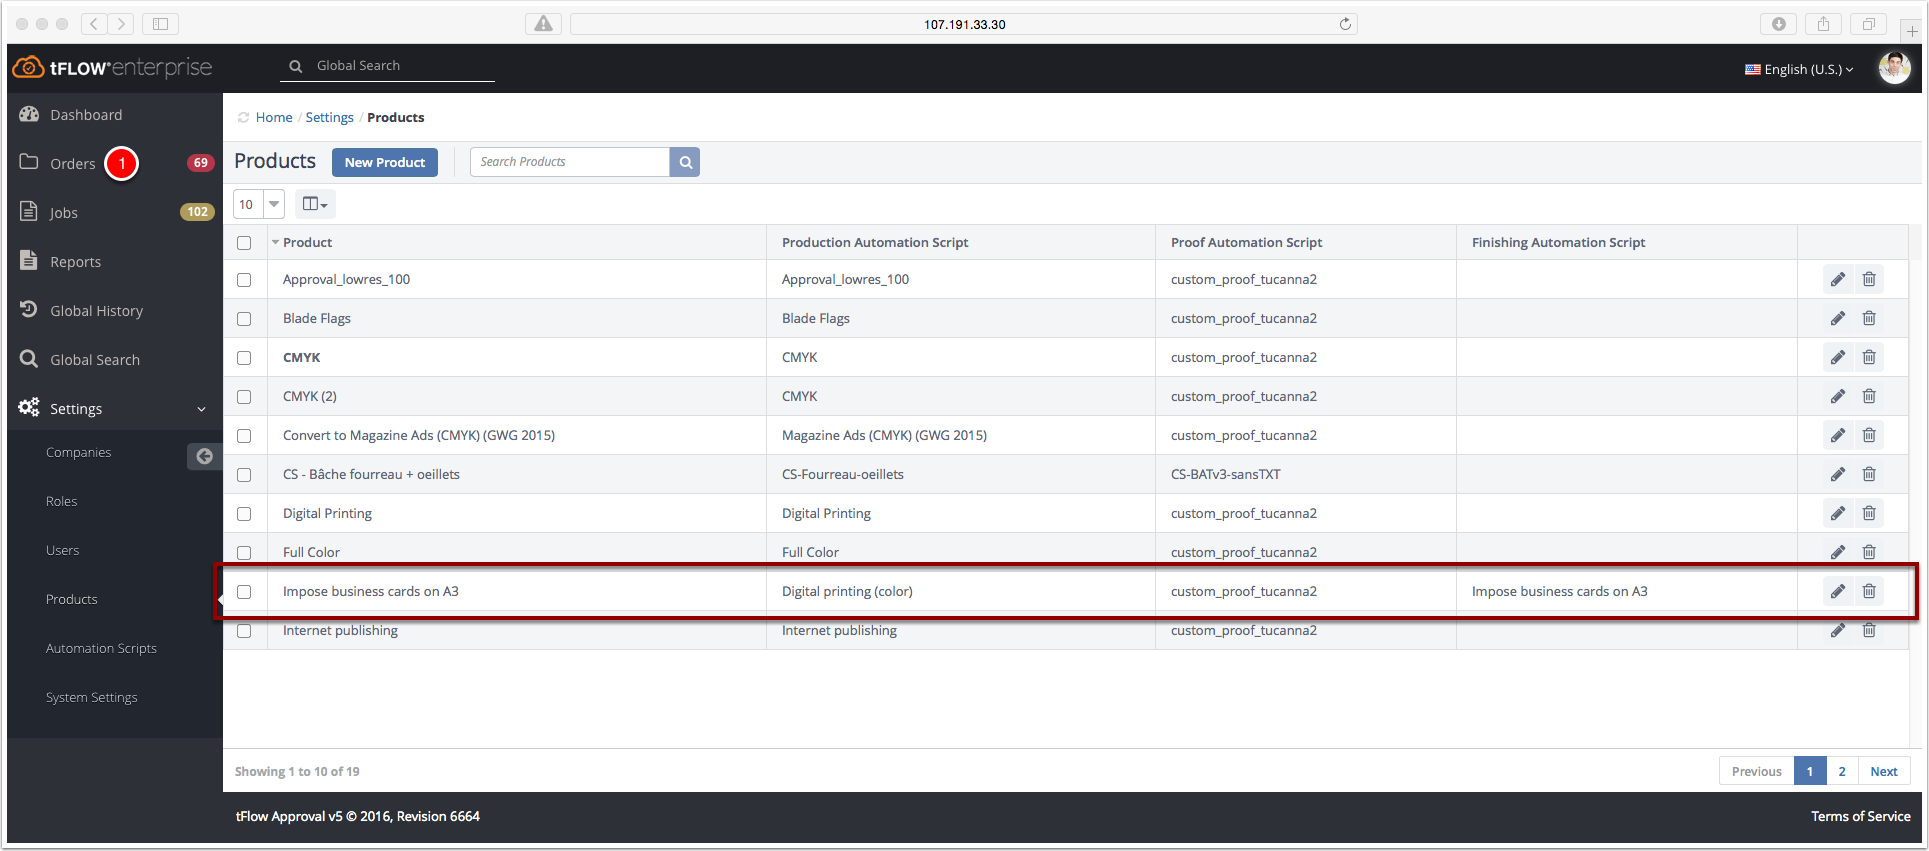
The product "Impose business cards on A3" is added in the Products list.
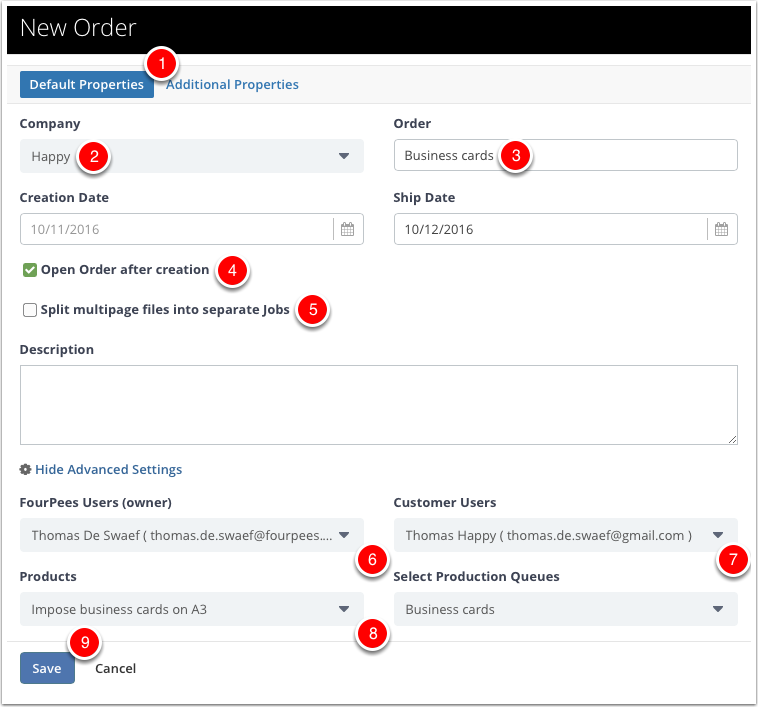
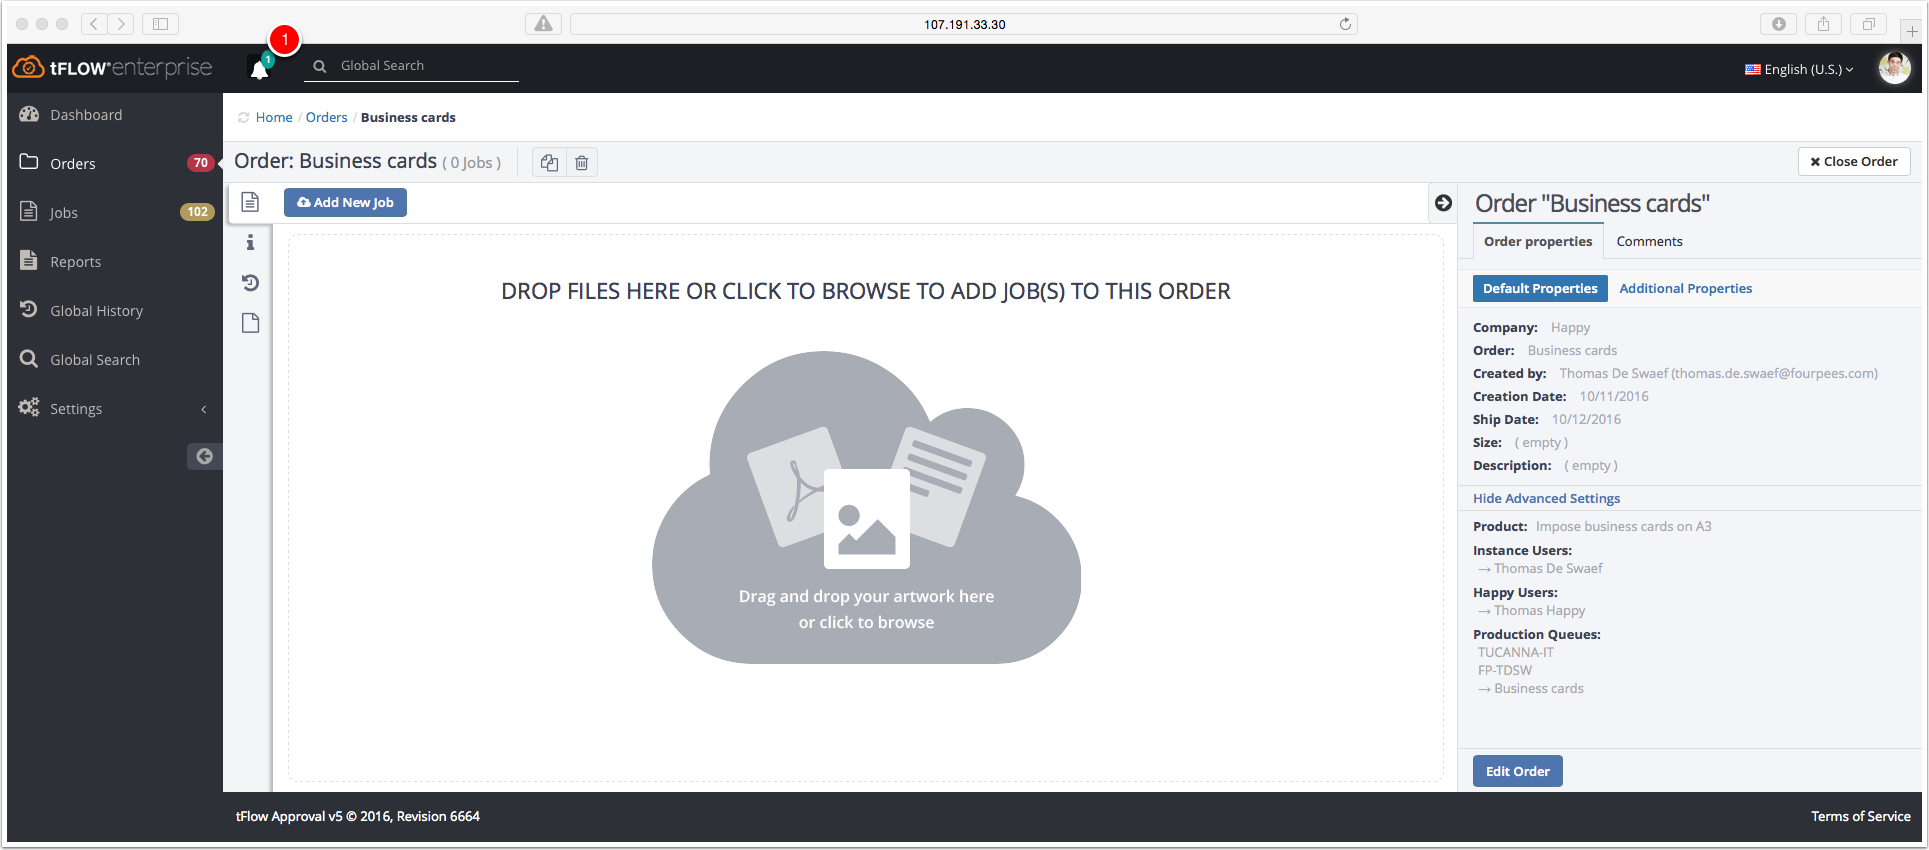
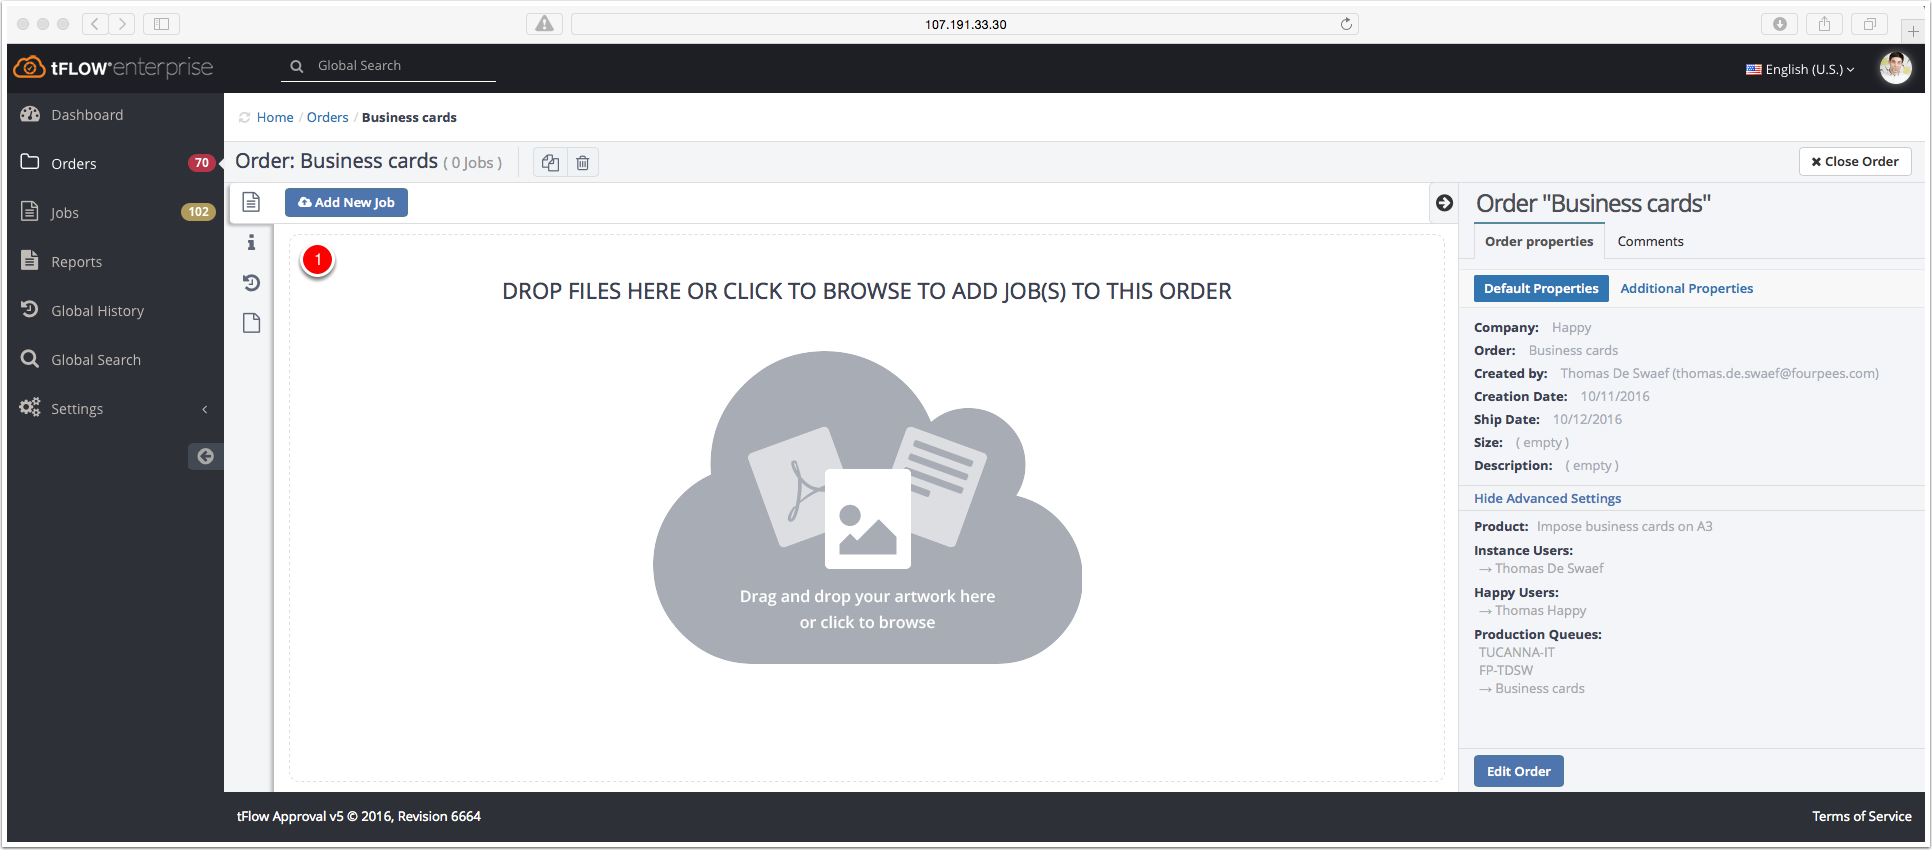
In the middle you have a field to drag and drop the PDF files. At the right size you have the order properties of the created order. Also comments can be added.
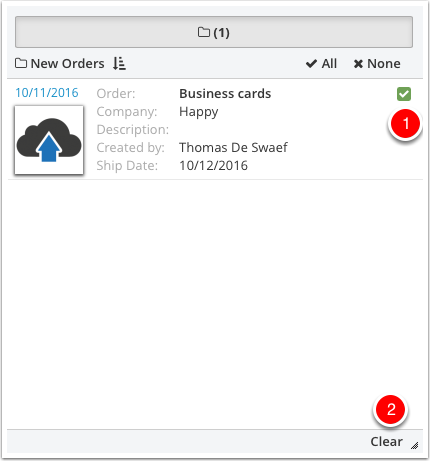
tFLOW notified you when a new order is added. You will be also notified for new revisions (jobs) and when jobs are ready for production.
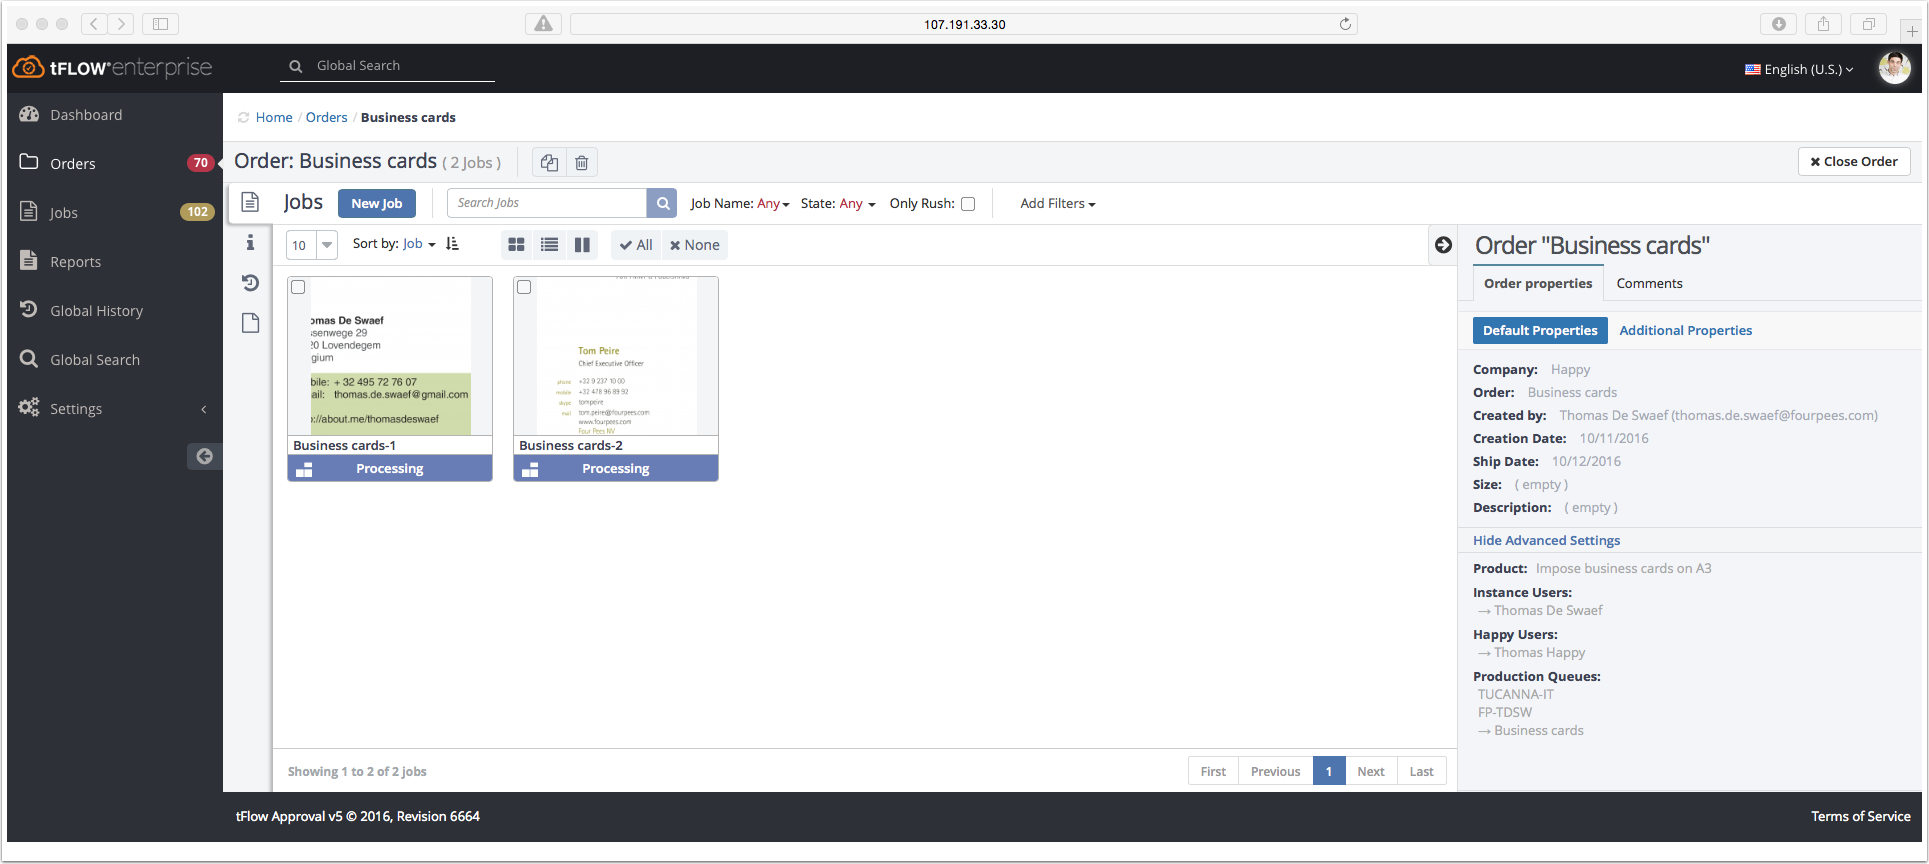
The PDF files are converted to two jobs. The two jobs are processing automatic based on the created product.
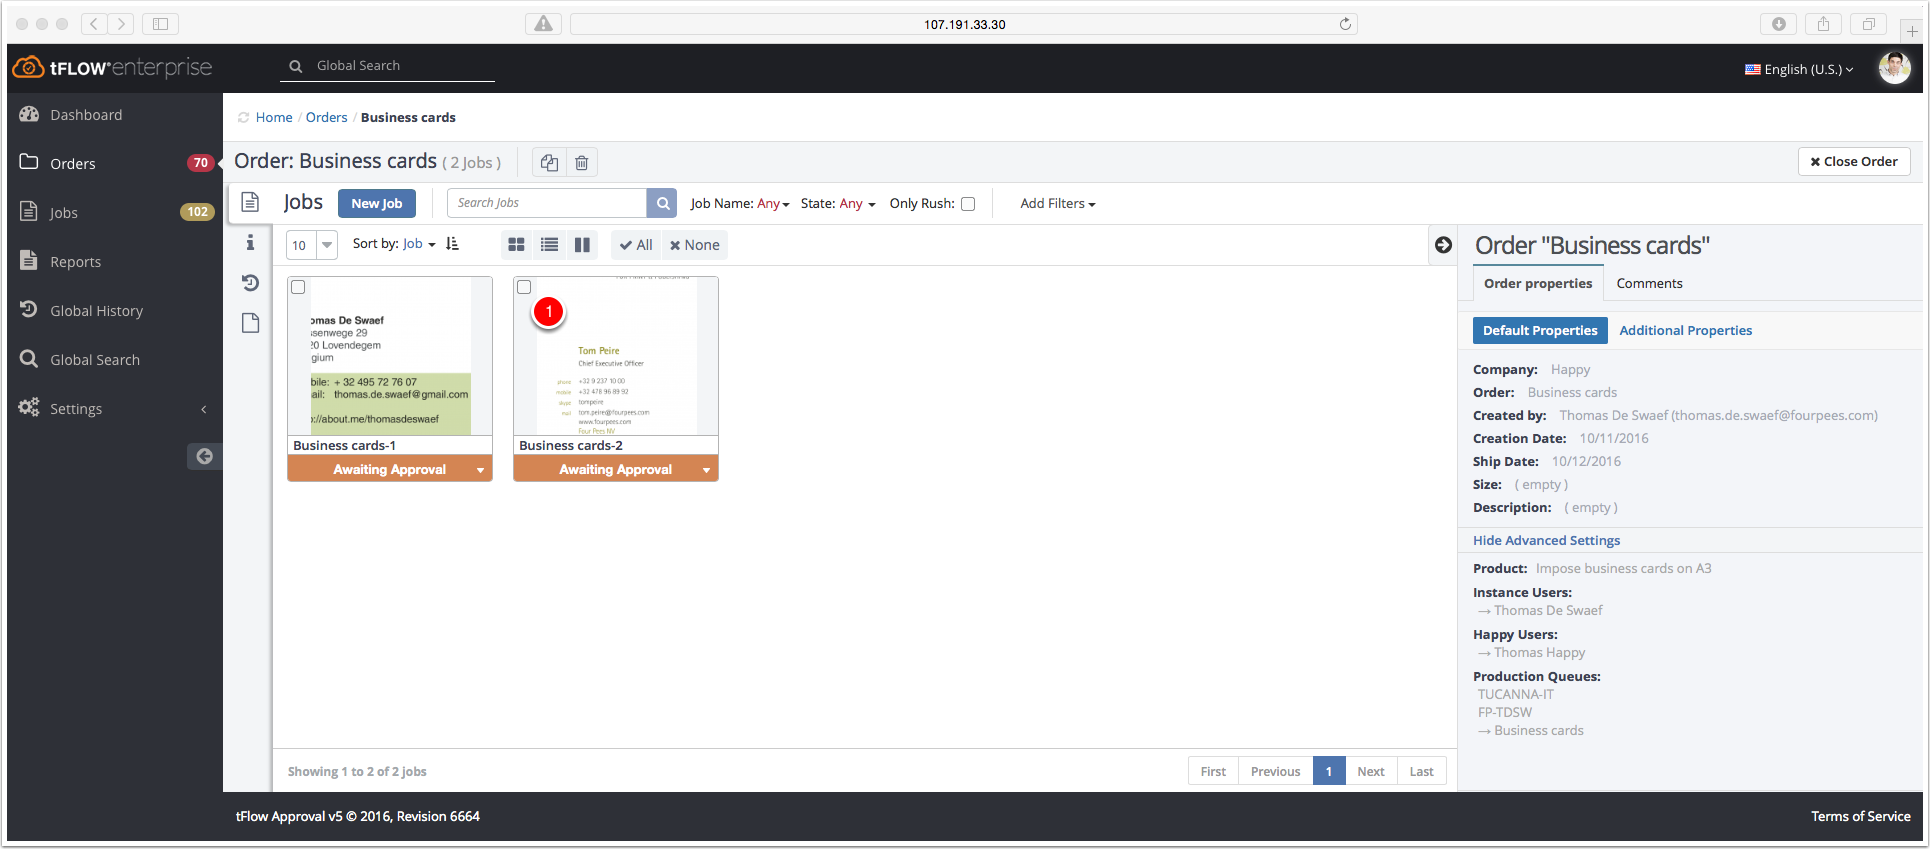
The Proof and Production Automation scripts are applied. The PDF files are succesful converted to the digital printing standard. They are waiting for approval.
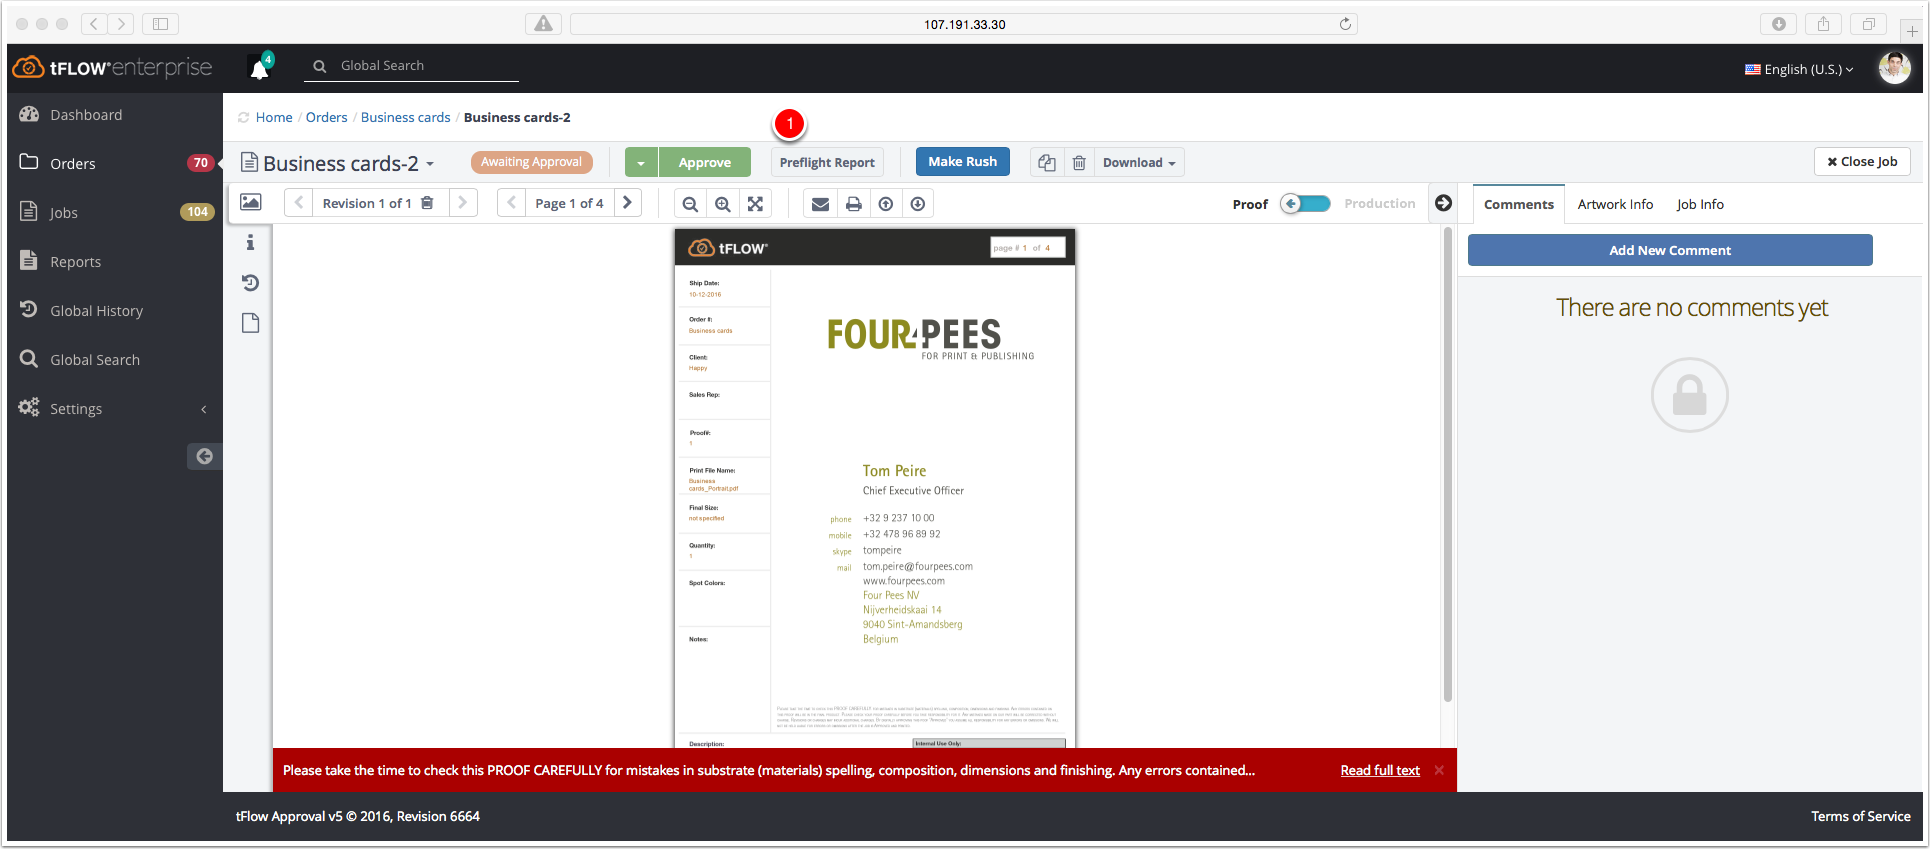
A proof preview is created. In the Approval panel you have tools to analyze the proof. Collaboration tools such as comments are included.
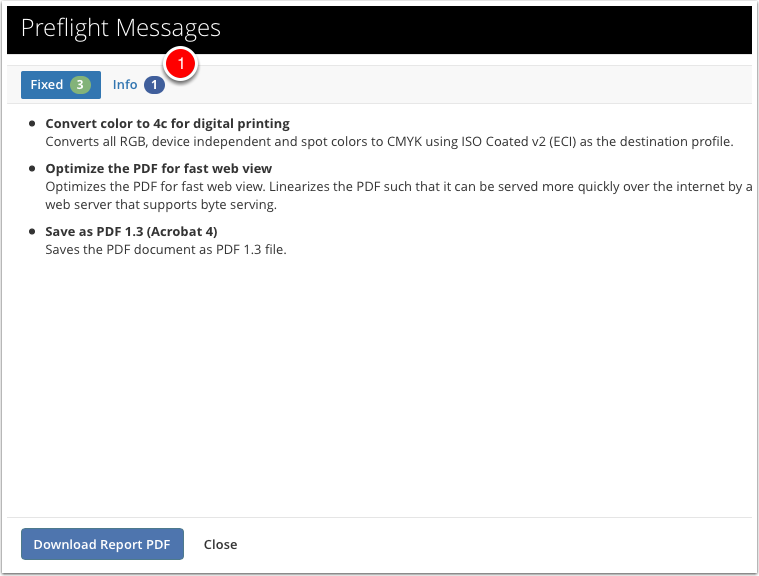
In the PDF file three corrections have been executed.
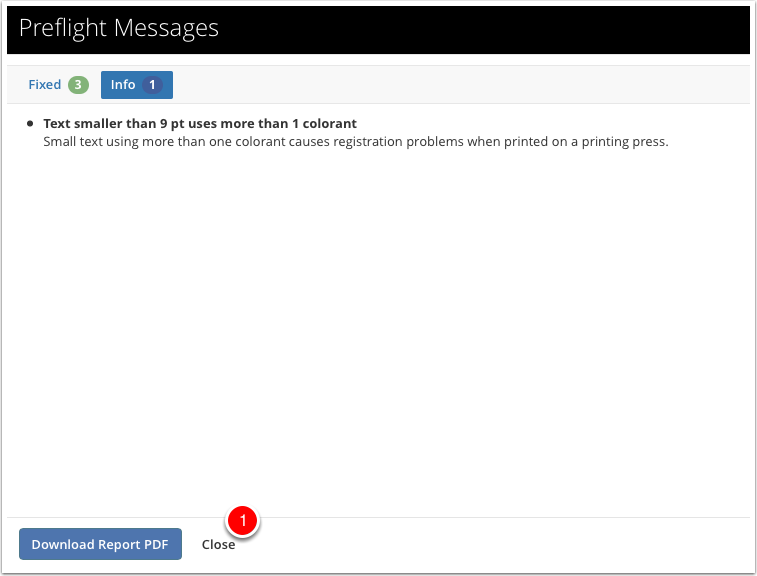
In the PDF file one info message is provided, with an explanation.
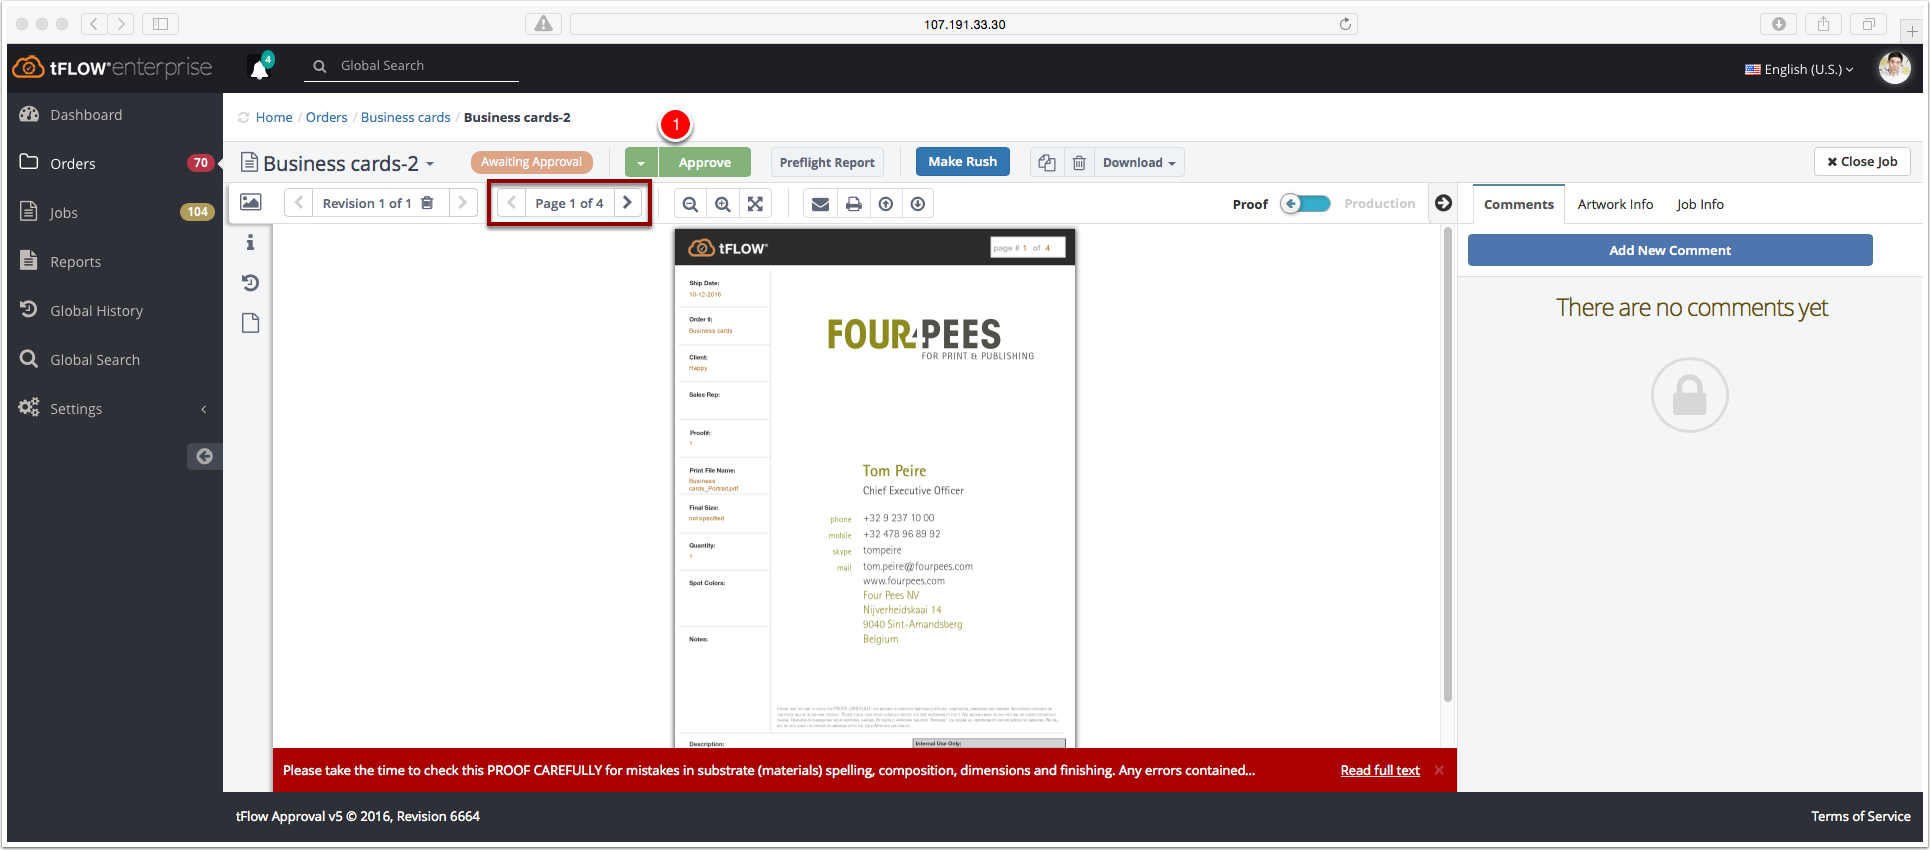
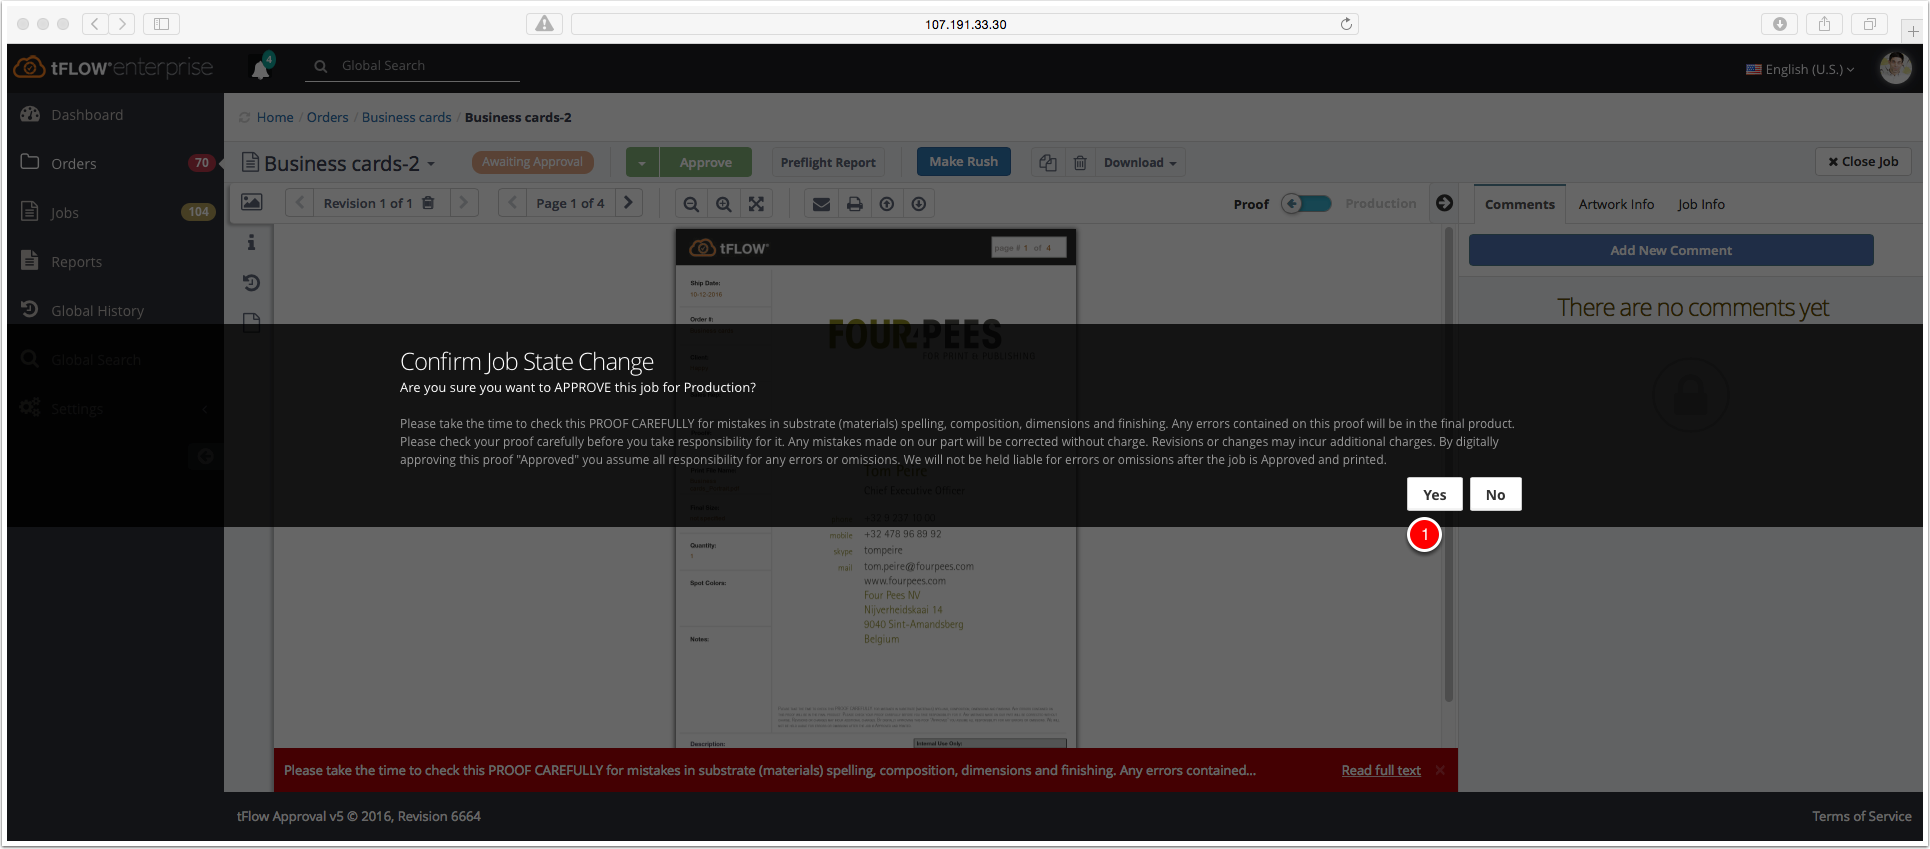
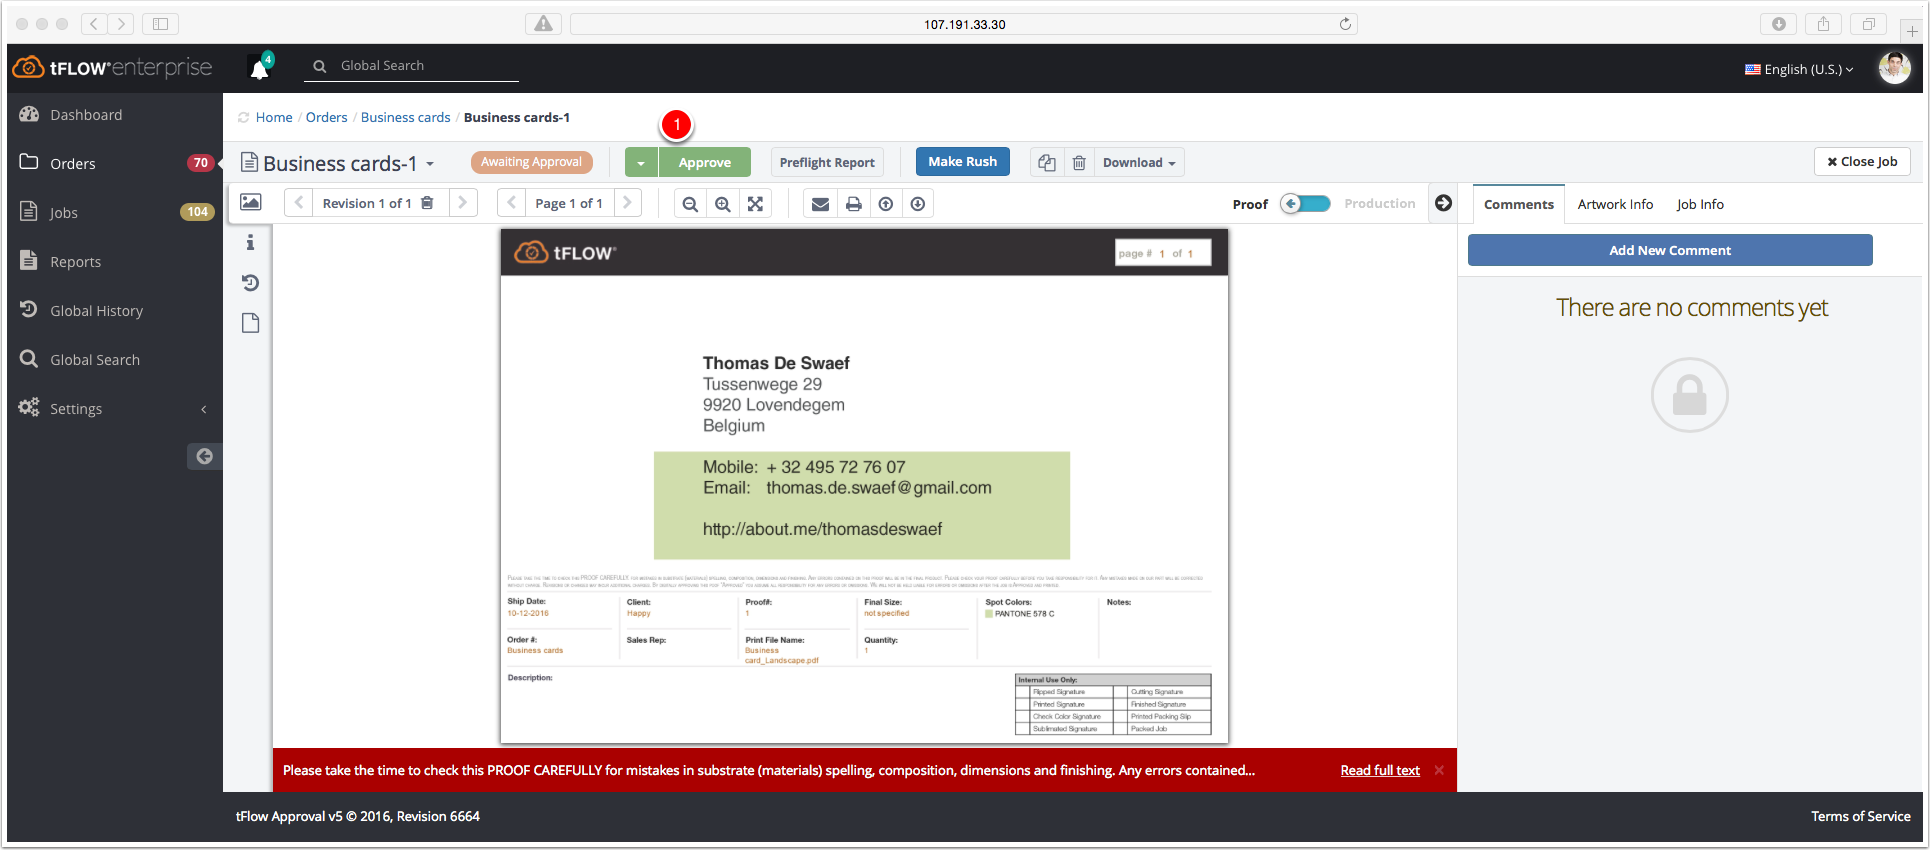
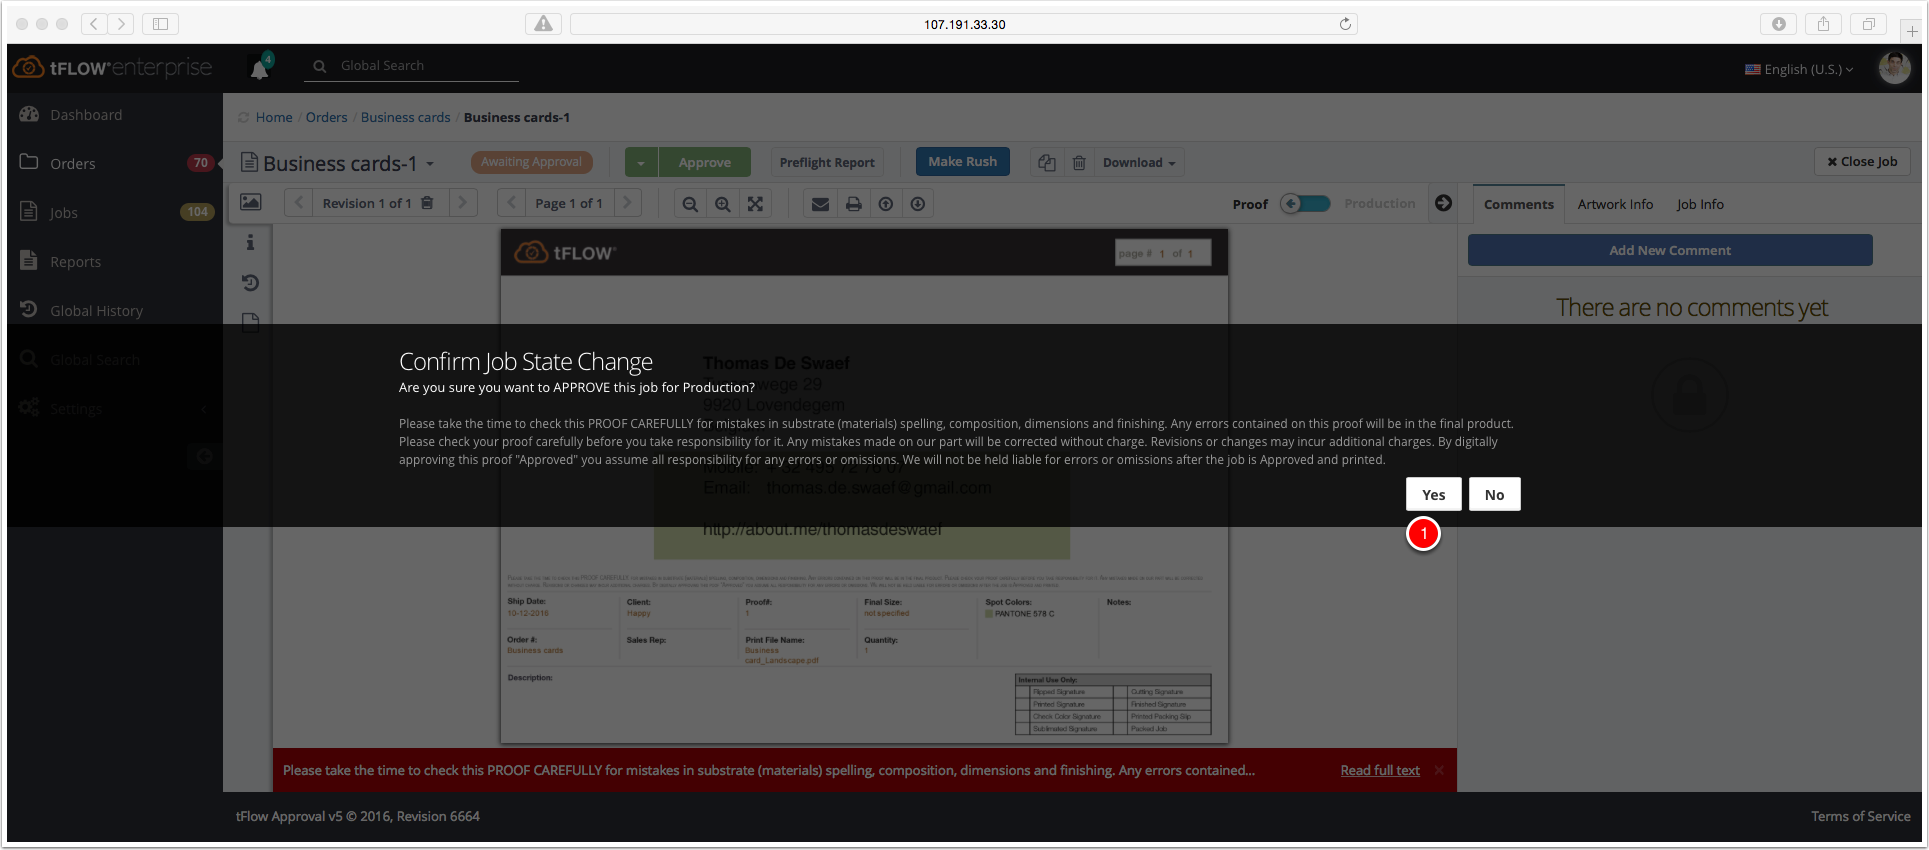
After checking the proof carefully, you can approve.
NOTE: The job has four pages. You have to be sure that you have checked every page before approving.
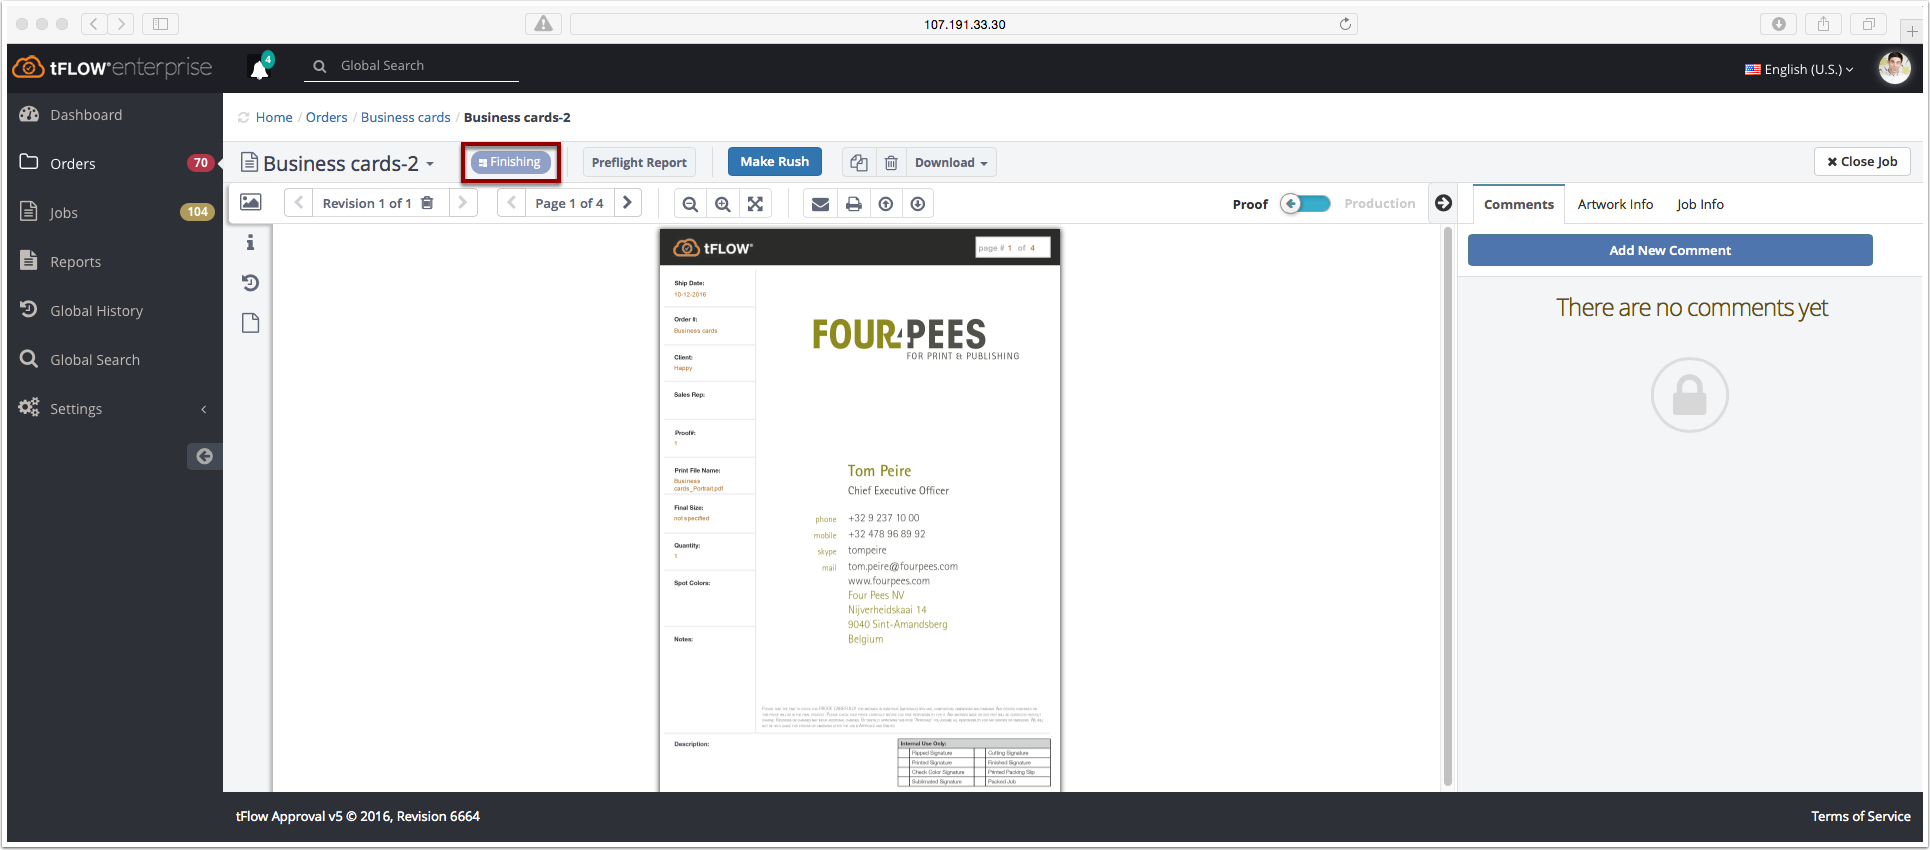
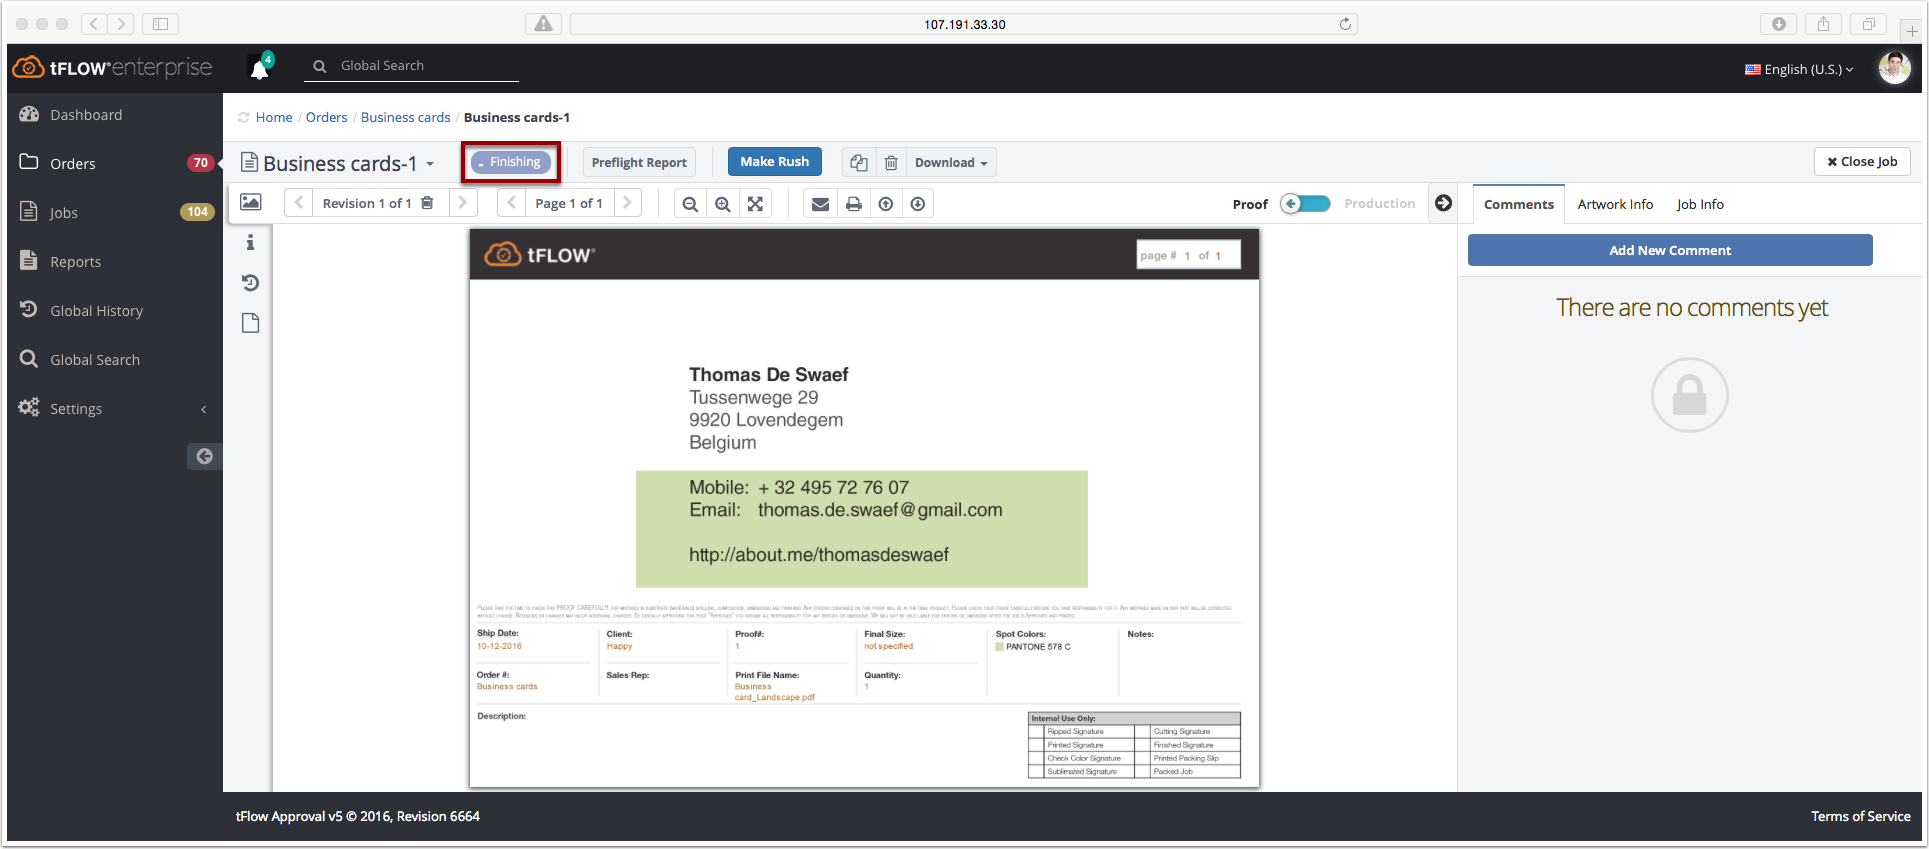
The job is processing automatic based on the created product. Now the Finishing Automation script is applying.
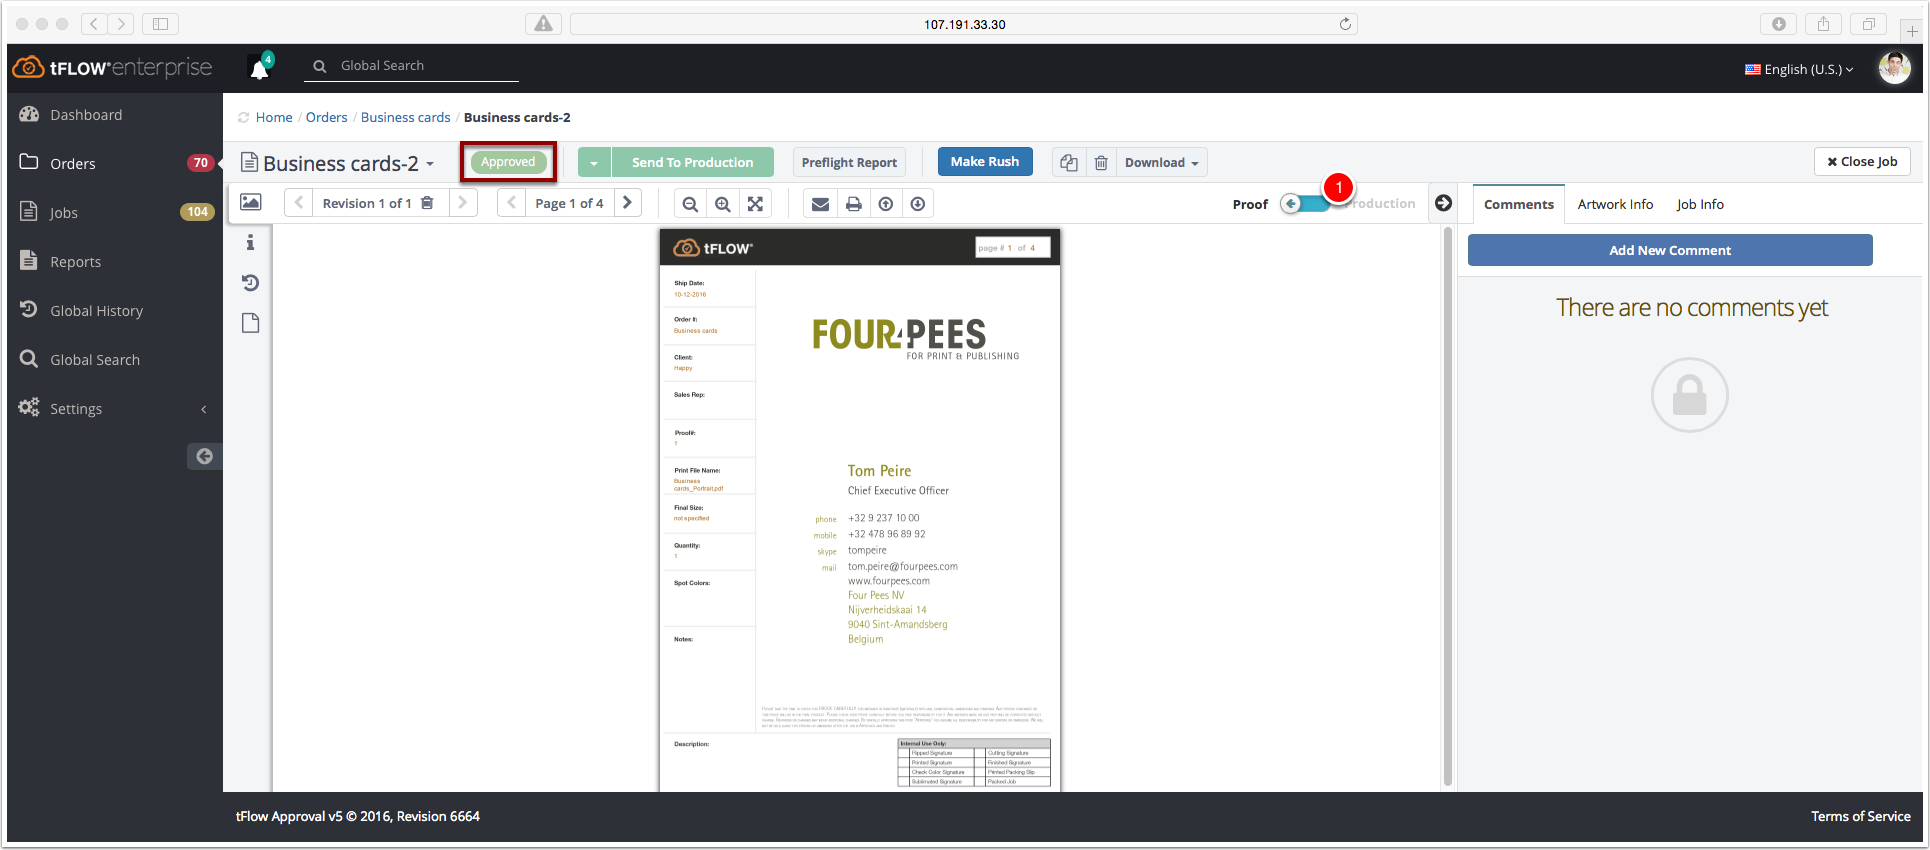
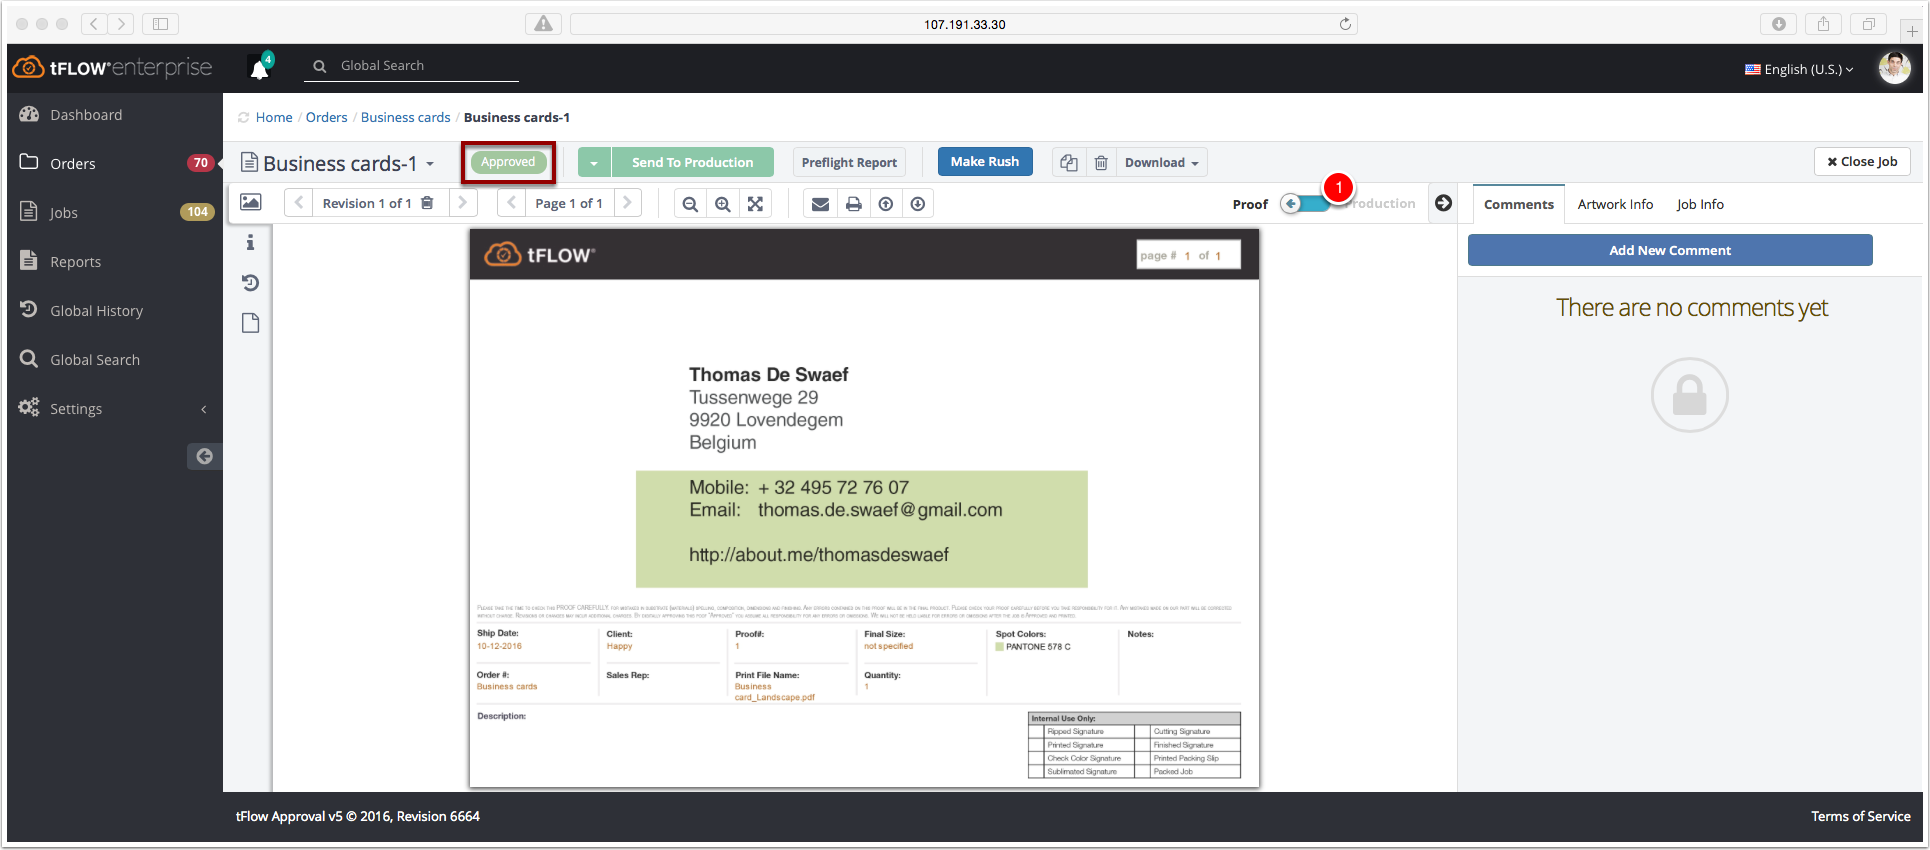
The job is approved.
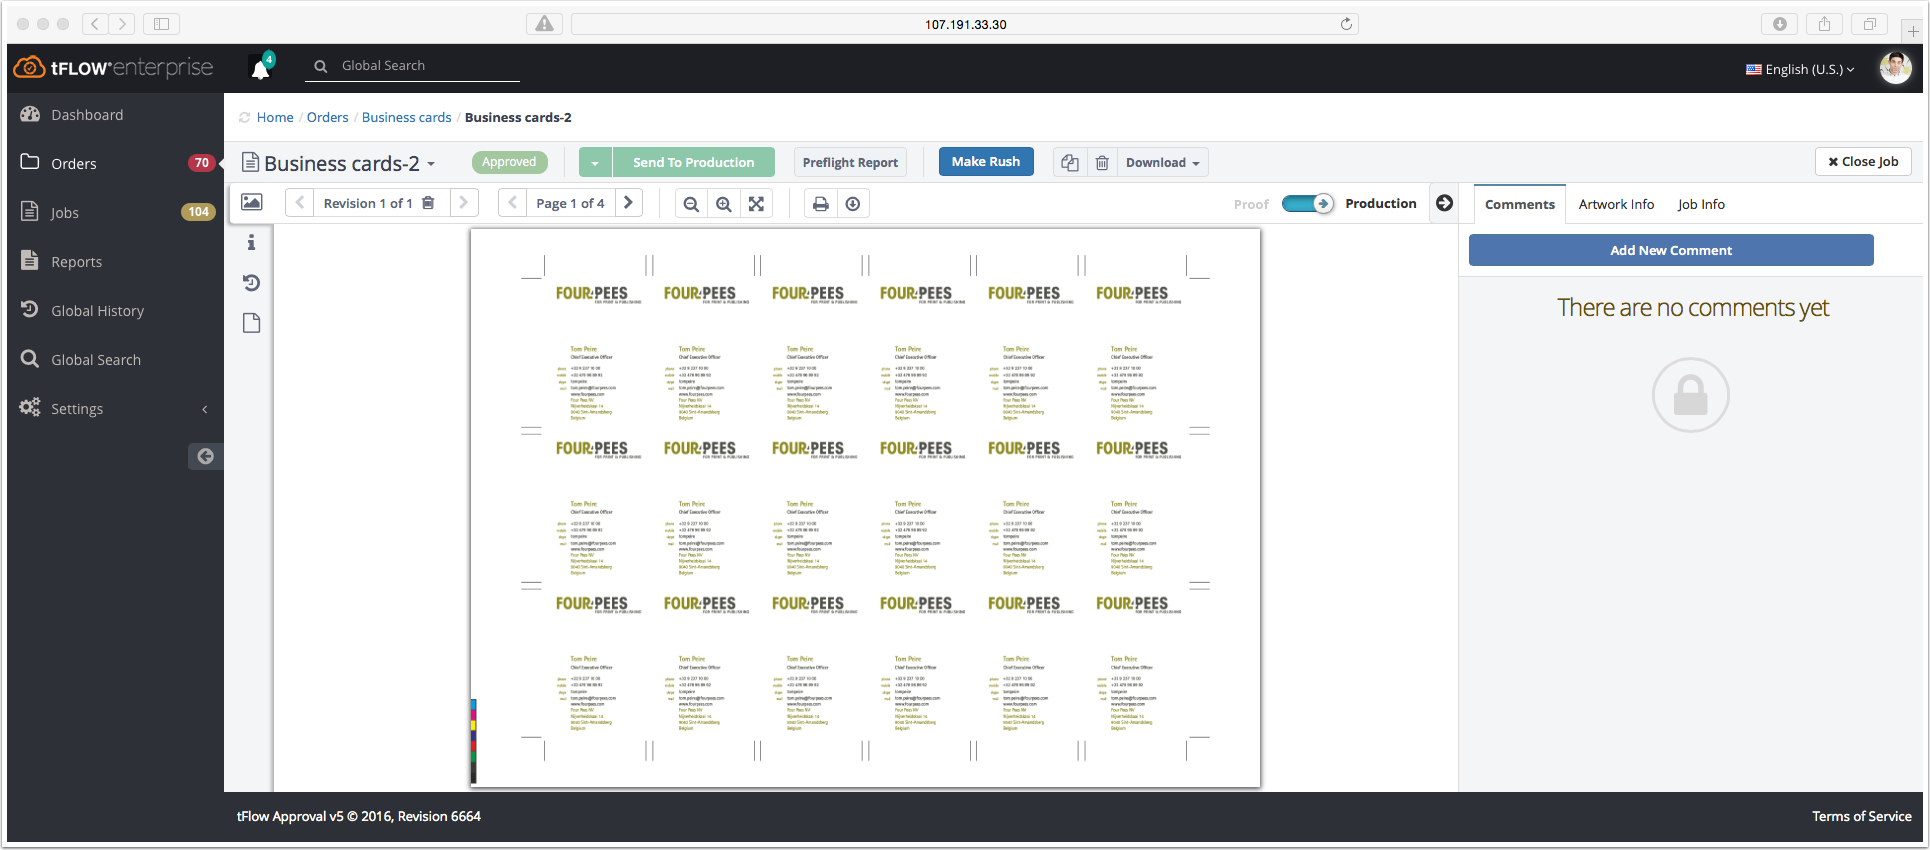
The portrait business cards are imposed on an A3 sheet size. Cut marks and a color bar are added.
The job is processing automatic based on the created product. Now the Finishing Automation script is applying.
The job is approved.
The landscape business cards are imposed on an A3 sheet size. Cut marks and a color bar are added.

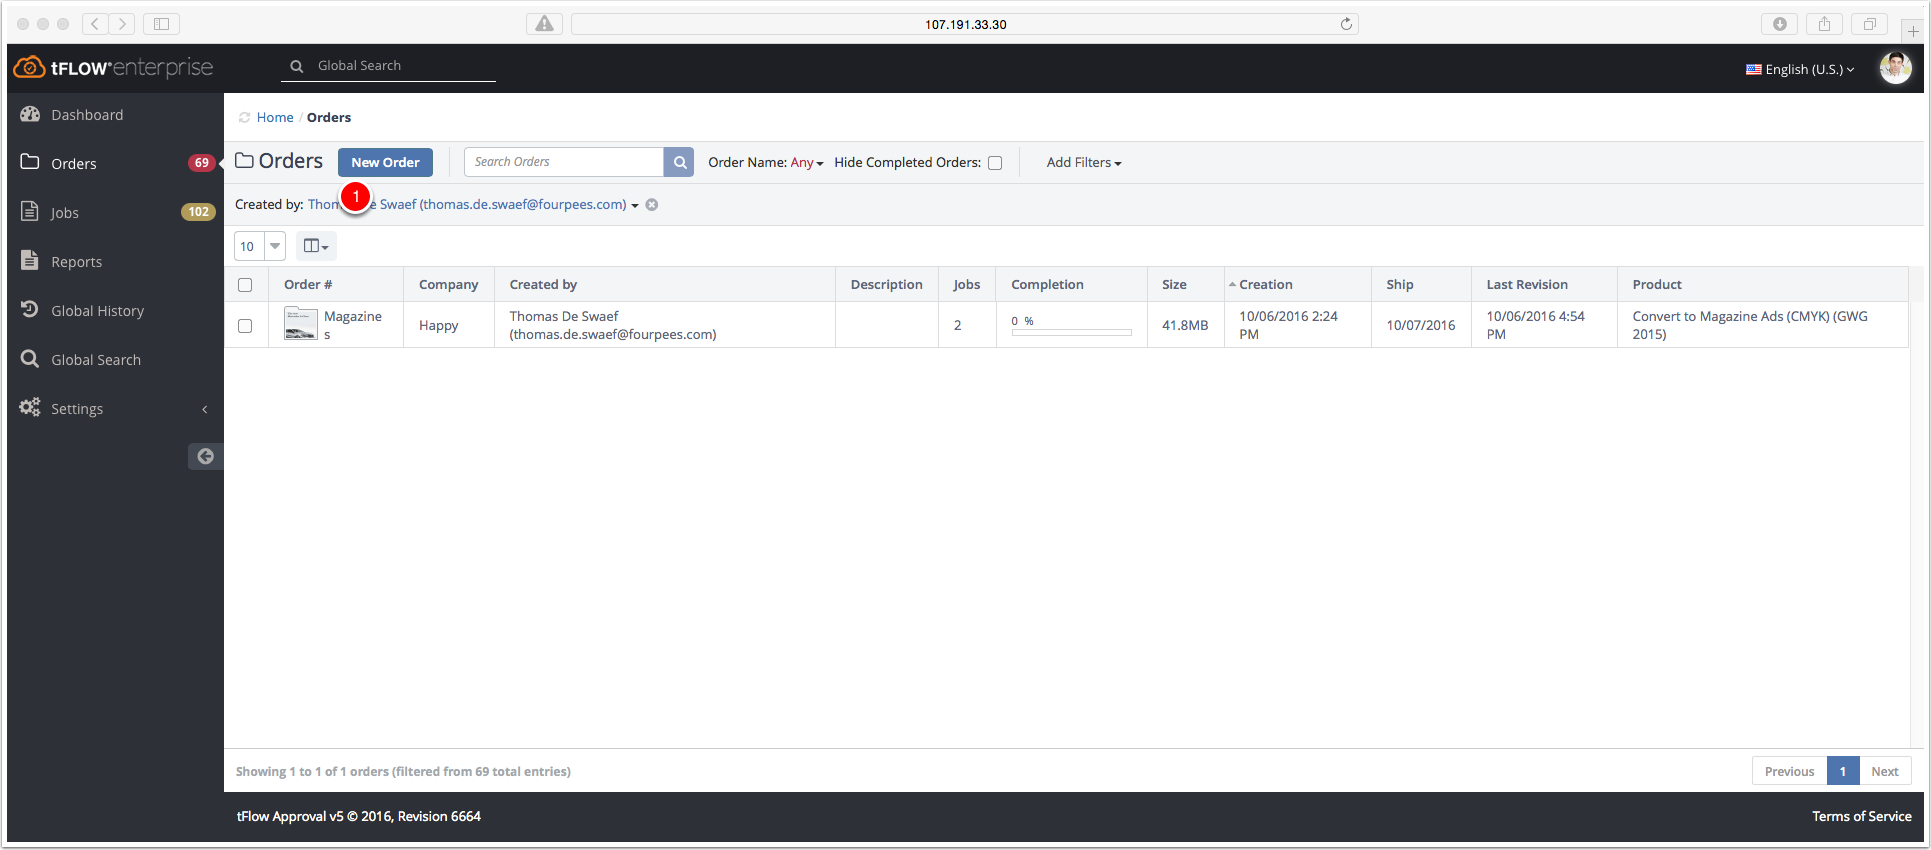
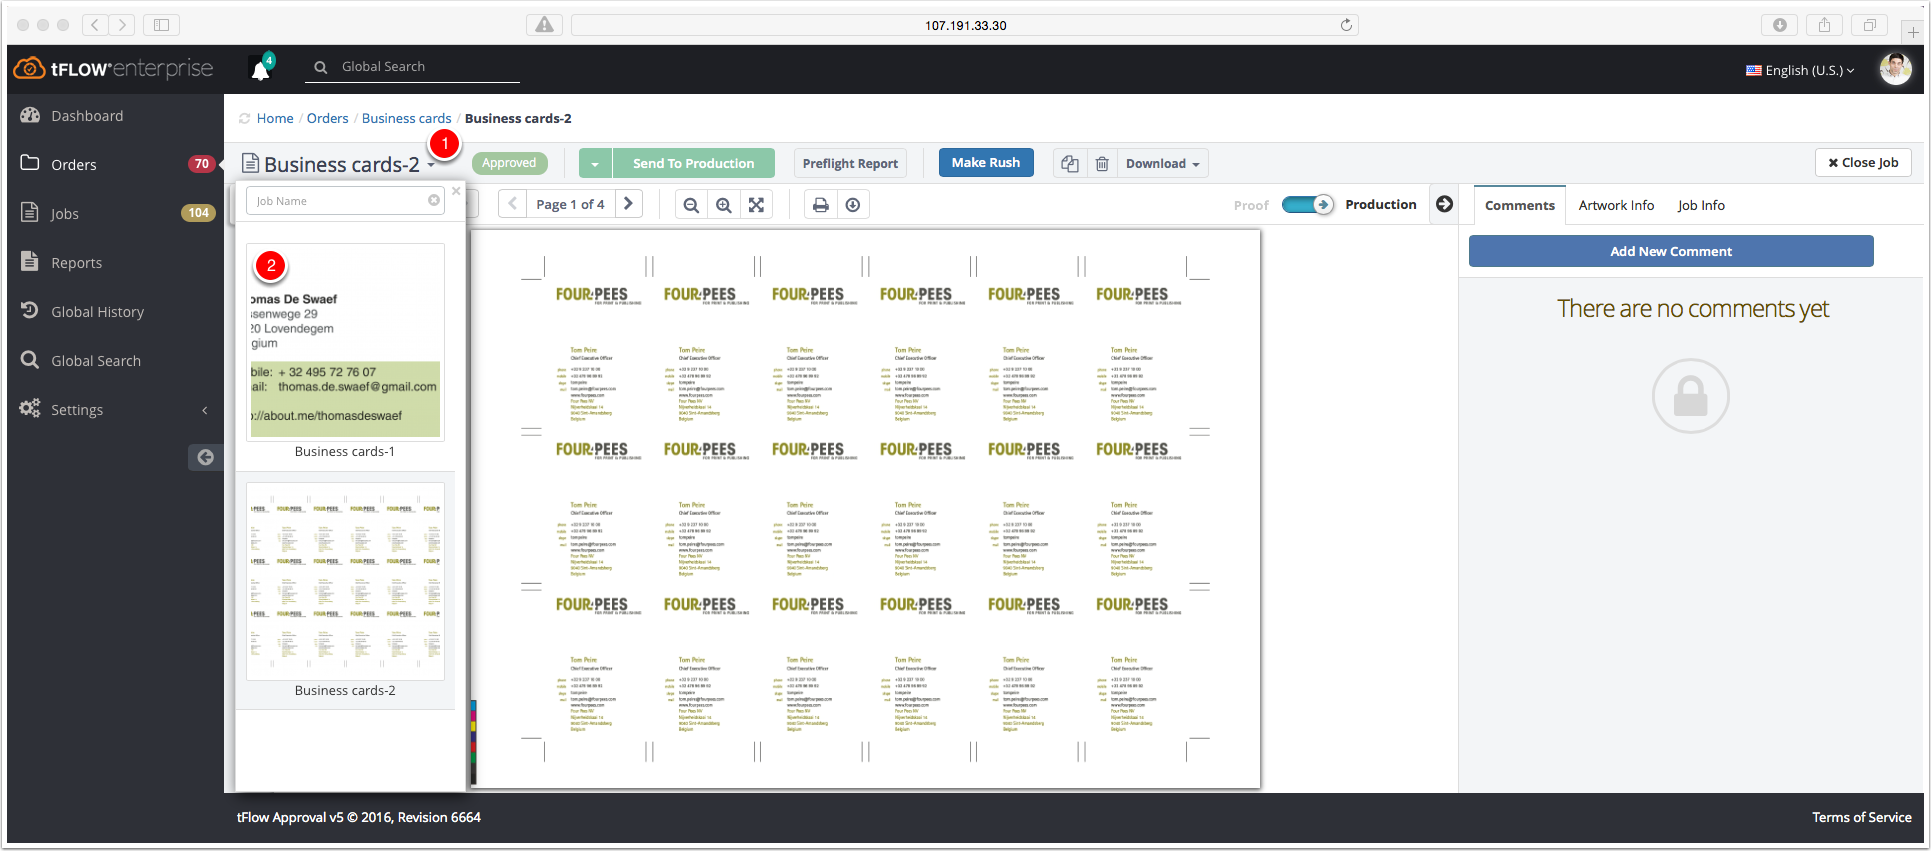
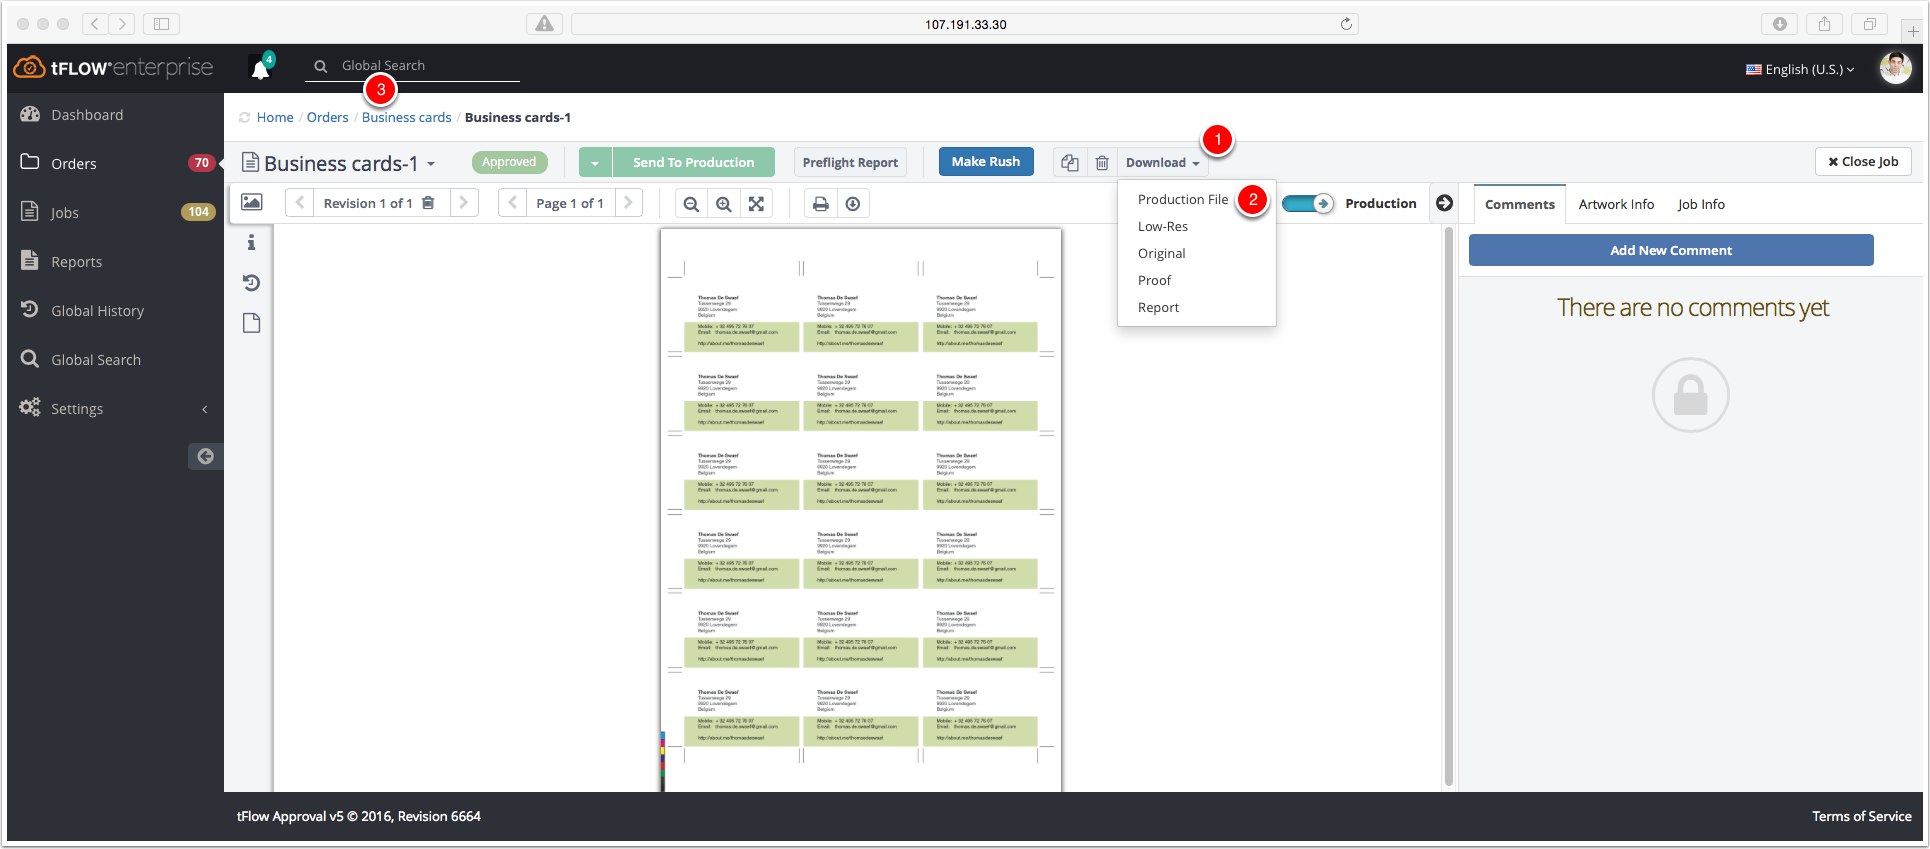
In the order "Business cards" you have an overview of the two approved jobs.
Did you like the video? Then you might want to have a look at related videos in the following playlist!