Activation procedure for pdfToolbox Desktop

Step by step instructions on how to activate callas pdfToolbox Desktop.

Background

To use any callas product on a computer, you will need to activate it first. This is true if you have bought a license key but also if you want to test the software through a trial. This article explains how the normal activation procedure for pdfToolbox Desktop and DeviceLink Add-on Desktop works and which steps you have to go through.
Instructions

Activation

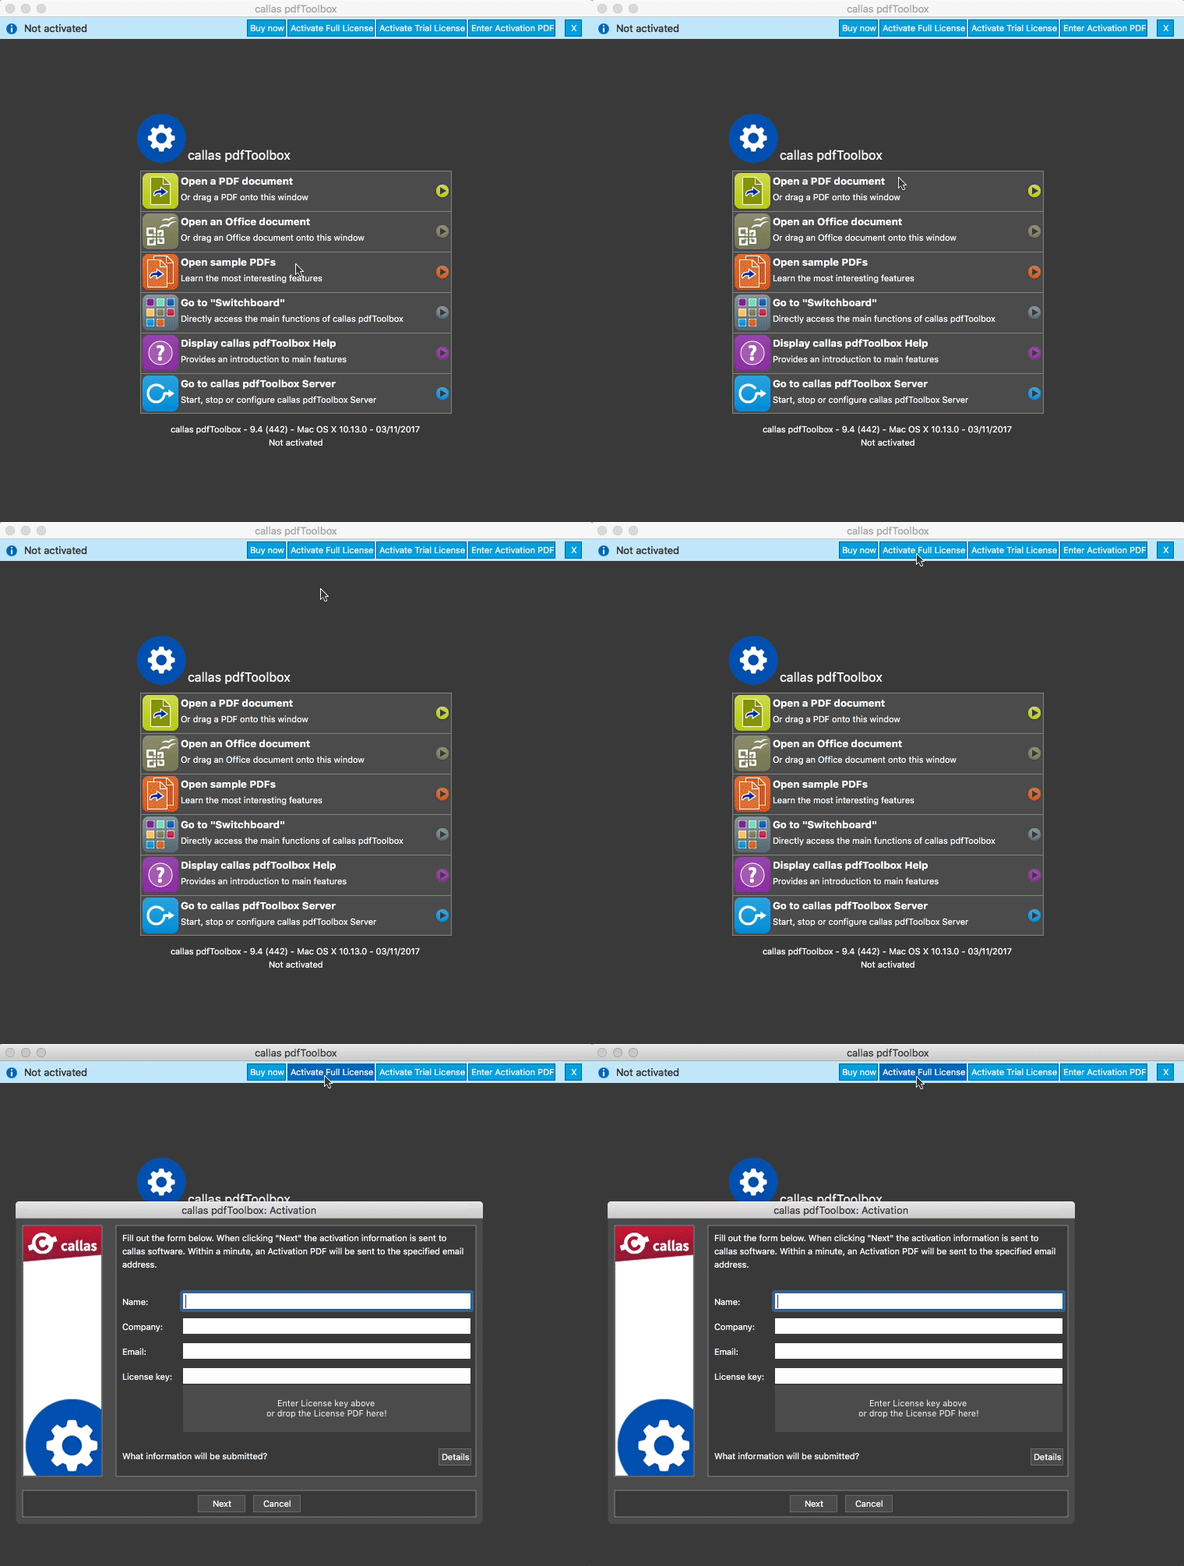
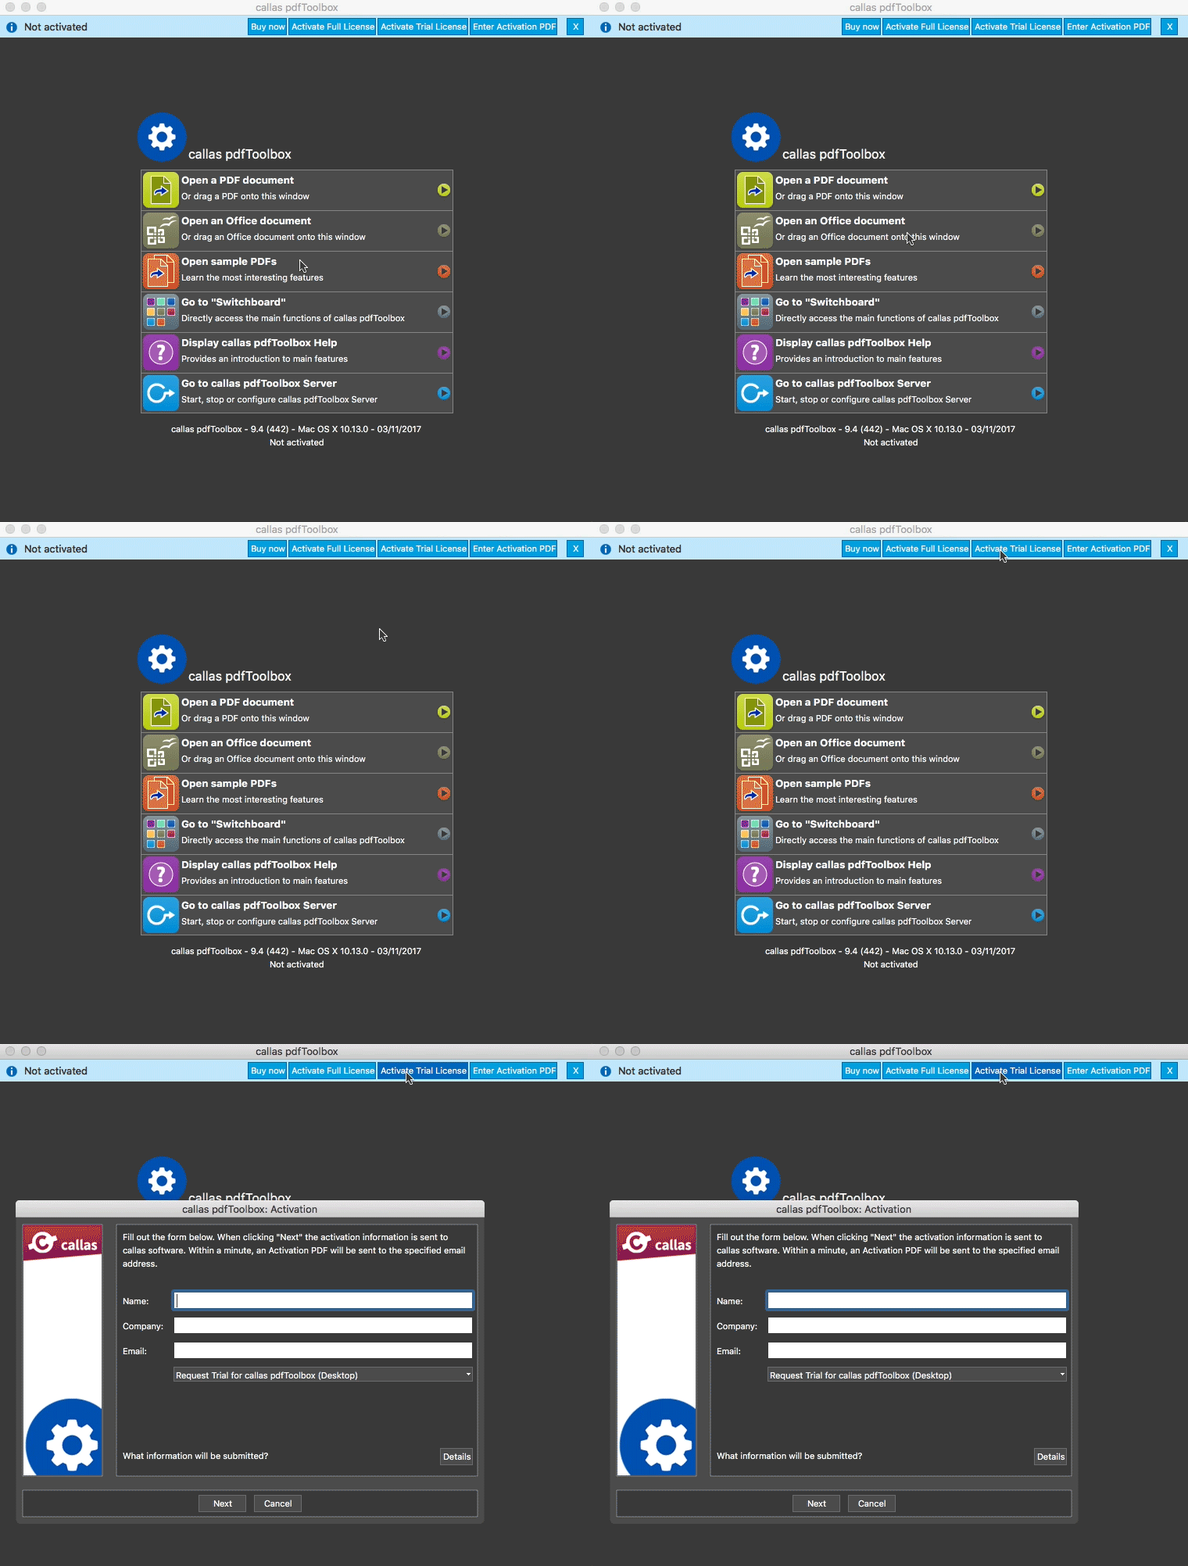
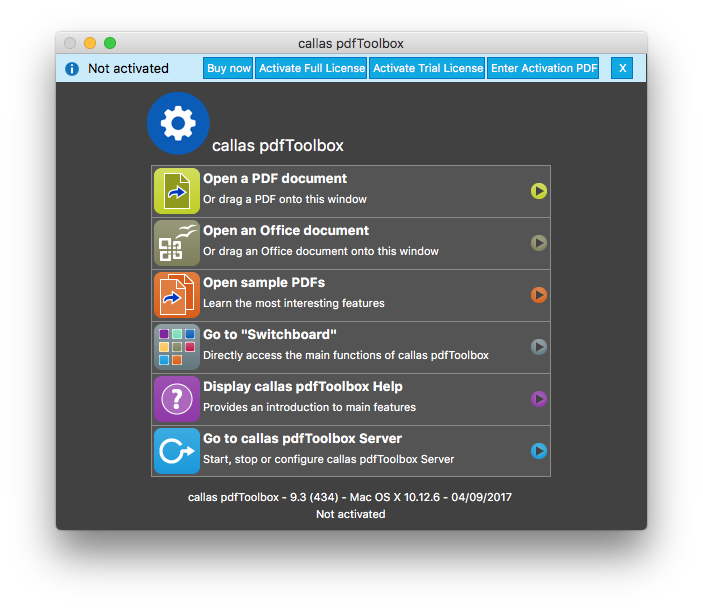
  1. Launch the application. You will see the main window with a blue bar at the top.


    If you have bought a license for callas pdfToolbox Desktop, click on the "Activate Full License" button; you will need a valid license key. Continue to step 2.
    If you simply want to try the product, click on "Activate Trial License". Go to step 3.

    NOTE:
    If you do not see a blue bar, go to Help > Activate callas pdfToolbox

    NOTE: If you want to interrupt the process at any point, you can always close the following windows by clicking "Cancel". To return to it, simply relaunch the application and click on the button in the blue bar or go to "Help > Activate pdfToolbox".

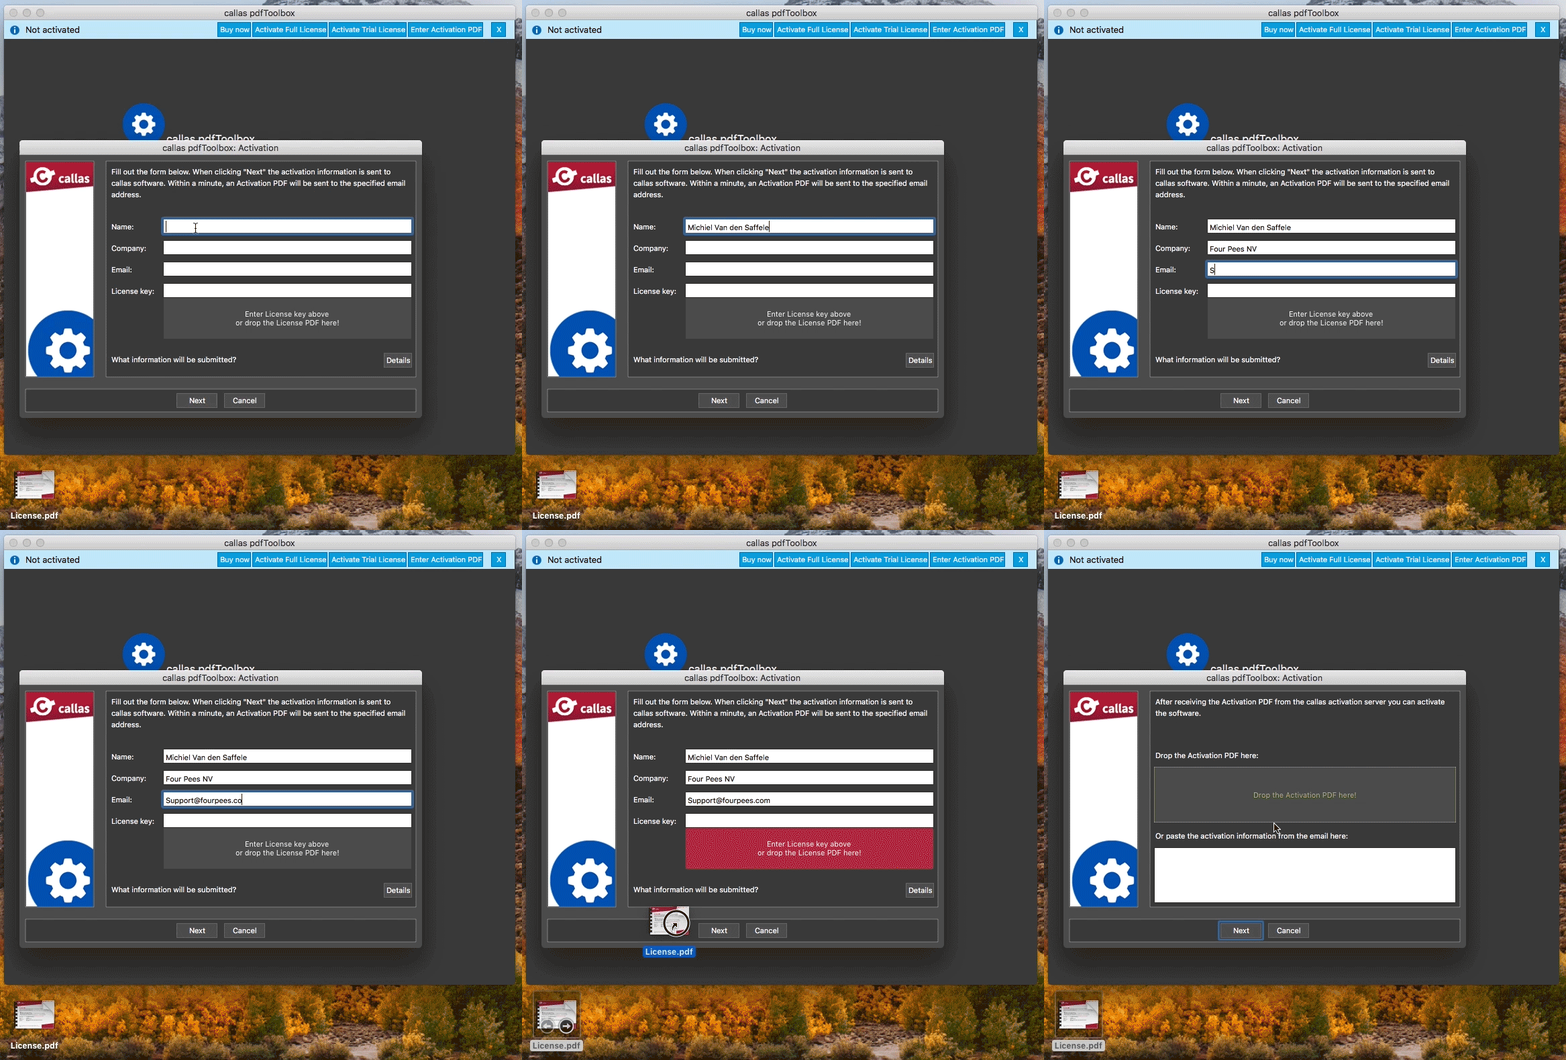
  2. The Activation Window appears. Here you have to fill out your Name, Company, Email address and a valid License Code. It is important to enter a valid email because the Activation PDF will be sent to that email address.
    You can enter the License Key by dragging and dropping your License PDF onto the lighter gray area. This is generally safer than copy pasting the License Key.
    You can check what information is sent to callas by clicking the "Details" button. You can also use the "Details" button to get the activation information if you want to manually send it to the callas activation server. The information displayed contains instructions on how to do this.


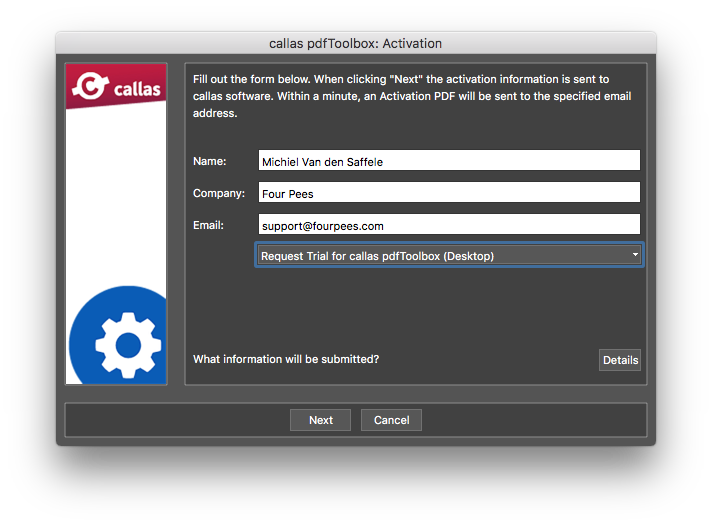
  3. The Activation Window appears. Here you have to fill out your Name, Company and Email address. You can select which version of the software you want to activate a trial for. It is important to enter a valid email because the Activation PDF for your trial will be sent to that email address. You can check what information is sent to callas by clicking the "Details" button. You can also use the "Details" button to get the activation information if you want to manually send it to the callas activation server. The information displayed contains instructions on how to do this.


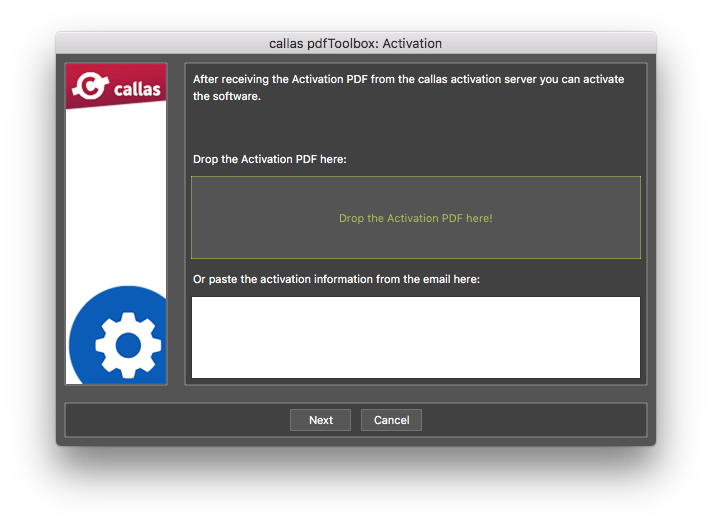
  4. After filling in your details, click the "Next" button. You will see the following dialog window:


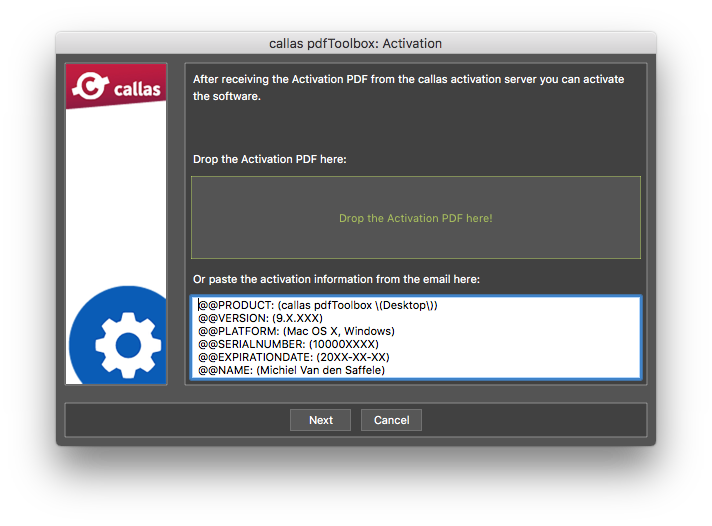
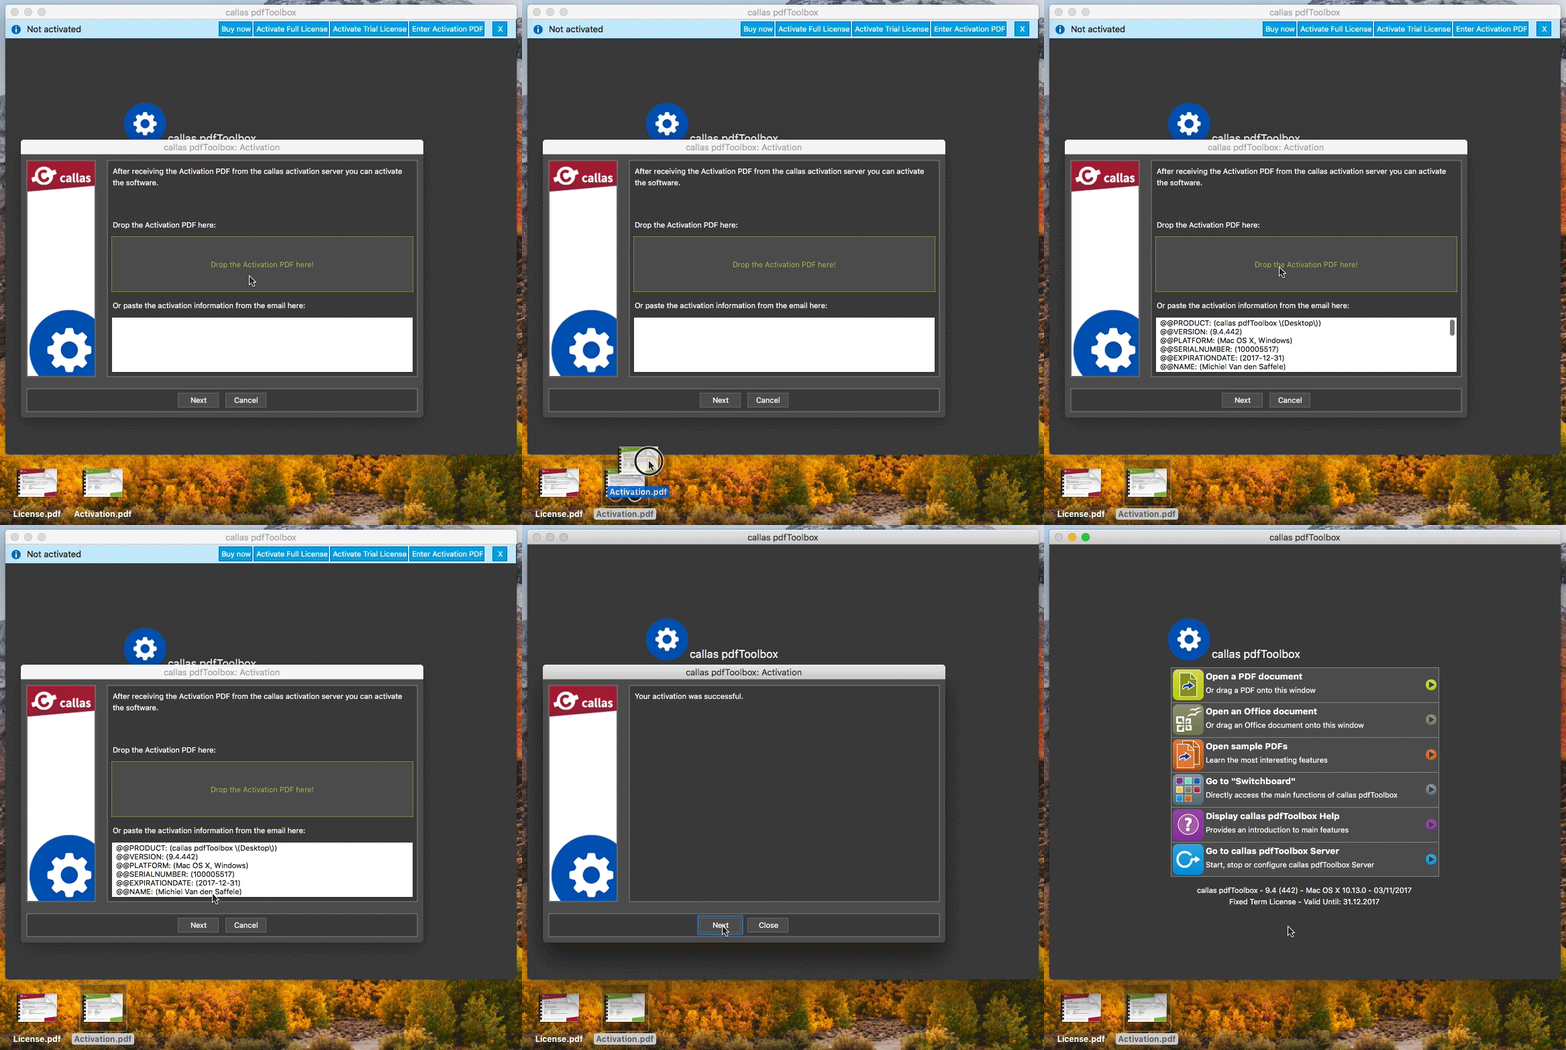
    Just a few minutes after sending your request using step 2 or 3, you will receive an email from callas containing an attachment called "Activation.pdf". You can drag and drop that file onto the lighter gray area or copy paste the information from the email into the input field below. It is generally safer to drag and drop the file rather than copy-pasting the information.

    Dropping the file will result in the information being inputted into the field.


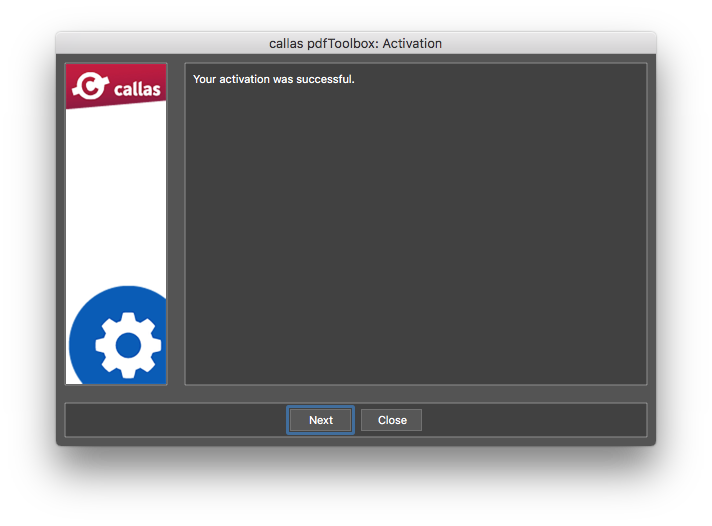
  5. Click "Next" and your callas pdfToolbox Desktop will be activated. You can click "Close" and start using the software.

  6. If you requested a trial and you run out of time before completing your tests, contact Four Pees Orders and they'll be happy to help.

NOTE: In the "callas pdfToolbox Activation" dialog you have an overview of the activated licenses (Help > About callas pdfToolbox).

NOTE: The activation procedure is the same for DeviceLink Add-on Desktop.

NOTE: The Activation PDF obtained through step 2 or 3 will only work on the system from which you requested it. If you want to activate the software on a different computer you will have to deactivate the software and go through the procedure again on the new system to obtain a new Activation PDF.


Deactivation

As the activation (and the resulting Activation PDF) is bound to the hardware. It is necessary to deactivate a license on one machine before an activation takes place on a different machine.

  1. Launch the application.
  2. Go to "Help > About callas pdfToolbox".
  3. Click "Deactivate".
  4. Choose the product "callas pdfToolbox (Desktop)".
  5. Fill out your email address.
  6. Click "Next".
  7. Click "Yes".

After the procedure, your callas pdfToolbox Desktop license will be deactivated.

NOTE: The deactivation procedure is the same for DeviceLink Add-on Desktop (in step 3 you have to select the product "callas DeviceLink Add-on (Desktop)").

videos

Playlist

Did you like the video? Then you might want to have a look at related videos in the following playlist!

Back to overview