With MadeToPrint, you can add a Post Process processing, which means that you can run a pdfToolbox profile on any output PDF you have created. You can not only create a grayscale PDF but also include a preflight to check against specific requirements or optimize your PDF for a specific output channel.

Create a new Printjob (1) and name it accordingly (2).

Choose destination File (PDF) (1) and click Setup... to choose the PDF Export Preset.
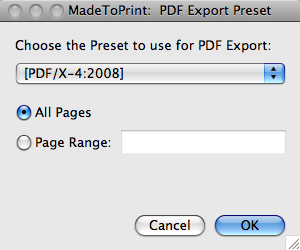
Choose any of the PDF Export preset you like.
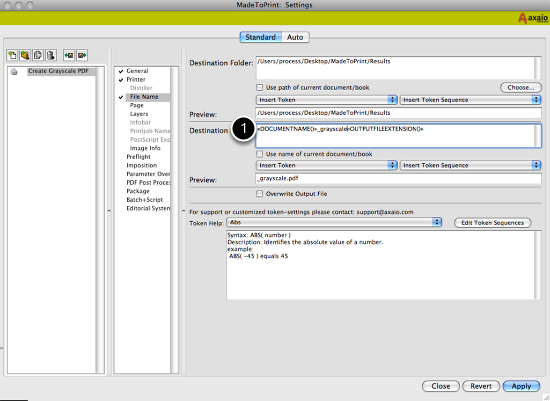
Predefine your output folder and PDF file name (1).

Go to the "PDF Post Process" panel (1) and Activate the PDF Post Process. Now MadeToPrint will export the PDF from InDesign with the PDF Export Setting you choose above and after successful creation of the PDF it will apply a pdfToolbox profile to the PDF file before putting it to the output folder. In our sample we choose Convert to grayscale (2) which will result in a grayscaled PDF at the end. You can add any pdfToolbox setting (profile) which fits your needs the best.
After finishing job setup save the job (Apply) and exit the configuration mode (Close).

In the main MadeToPrint dialog you now can choose your Grayscale PDF job an click on (Print).
MadeToPrint will export the InDesign File to a Grayscale PDF...

...and as a result you got your print-ready, grayscaled PDF.
Did you like the video? Then you might want to have a look at related videos in the following playlist!