DeviceLink profiles complement the use of normal ICC device profiles; making it possible to specifically circumvent the weaknesses of color conversions based on an ICC device profile for certain tasks.
You need your own DeviceLink profiles if you use in-house standars, papers that deviate from the standard, or certain TAC.
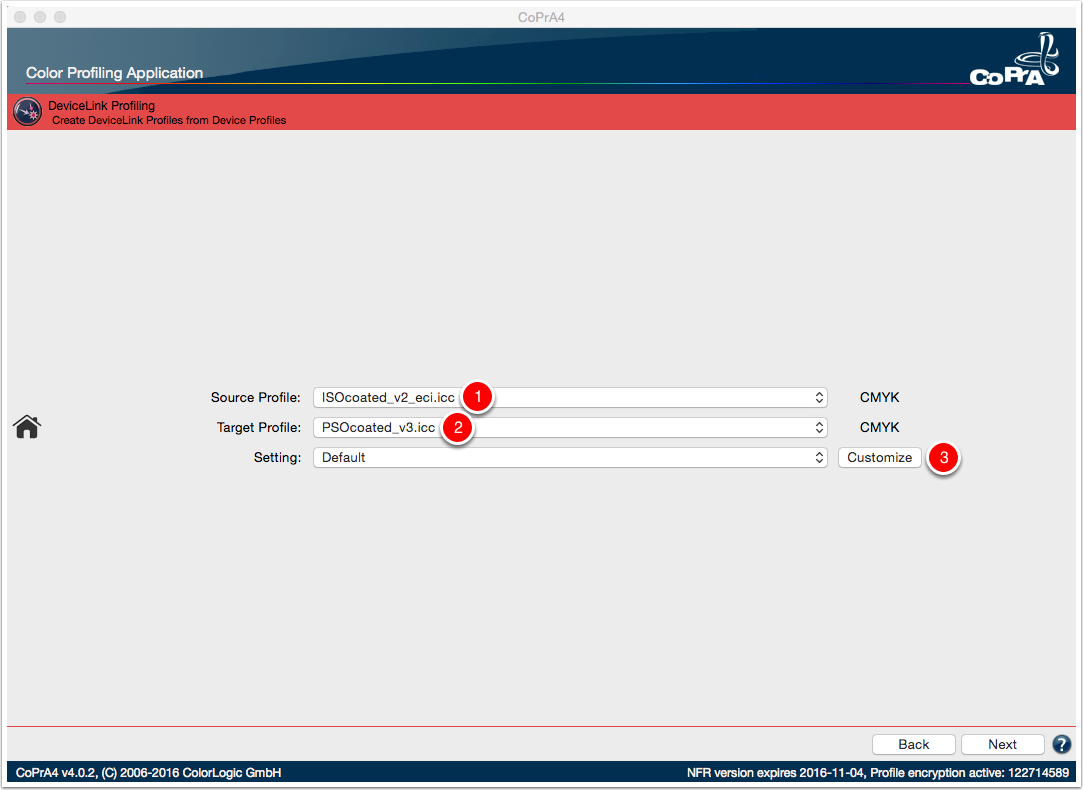
In this tutorial I create my own DeviceLink profile for a CMYK to CMYK conversion. The created DeviceLink profile is suitable to accurately convert files that where prepared for FOGRA 39 (ISO Coated v2 (ECI)) to FOGRA 51 (PSO Coated v3 (ECI)). The separation of the original data, primary colors, secondary colors, gray and blacks are preserved. Overall, only minimal changes are applied by the DeviceLink conversion to compensate for the tonal and color differences between the new and previous printing conditions. The Total Amount of Color (TAC) achieved is 330%.


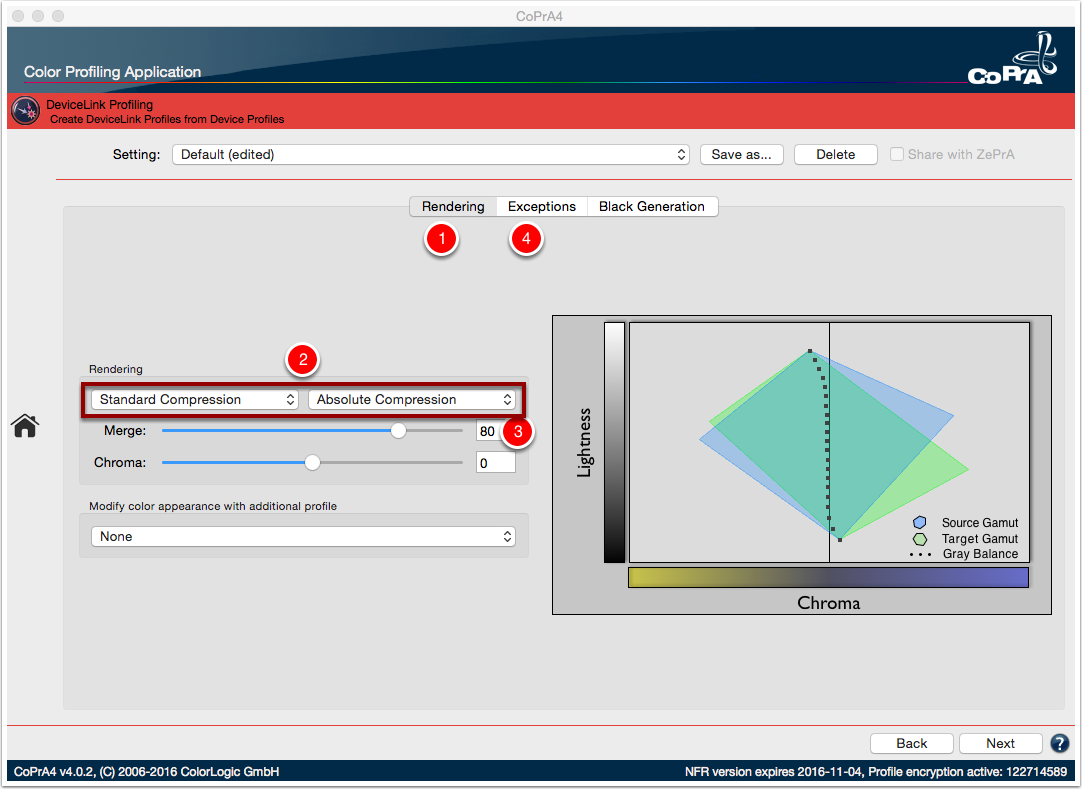
NOTE: The color appearance is supposed to be preserved when using conversion profiles. Therefore, the rendering intent should be set to "Absolute Compression". A mixed setting between Standard and Absolute Compression is meaningful in order to allow the paper color to shine through slightly and to avoid any problems caused by optical brighteners.
NOTE: This keeps areas of critical colors pure and excludes rounding errors during calculation of the DeviceLink profile.

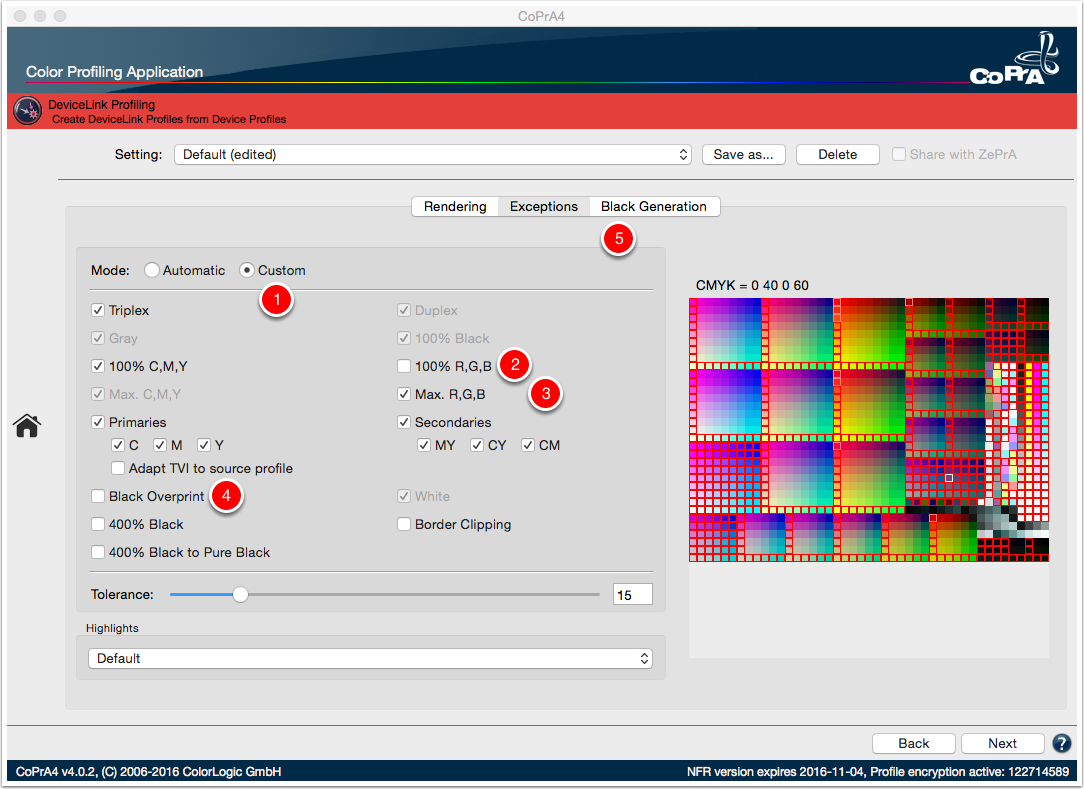
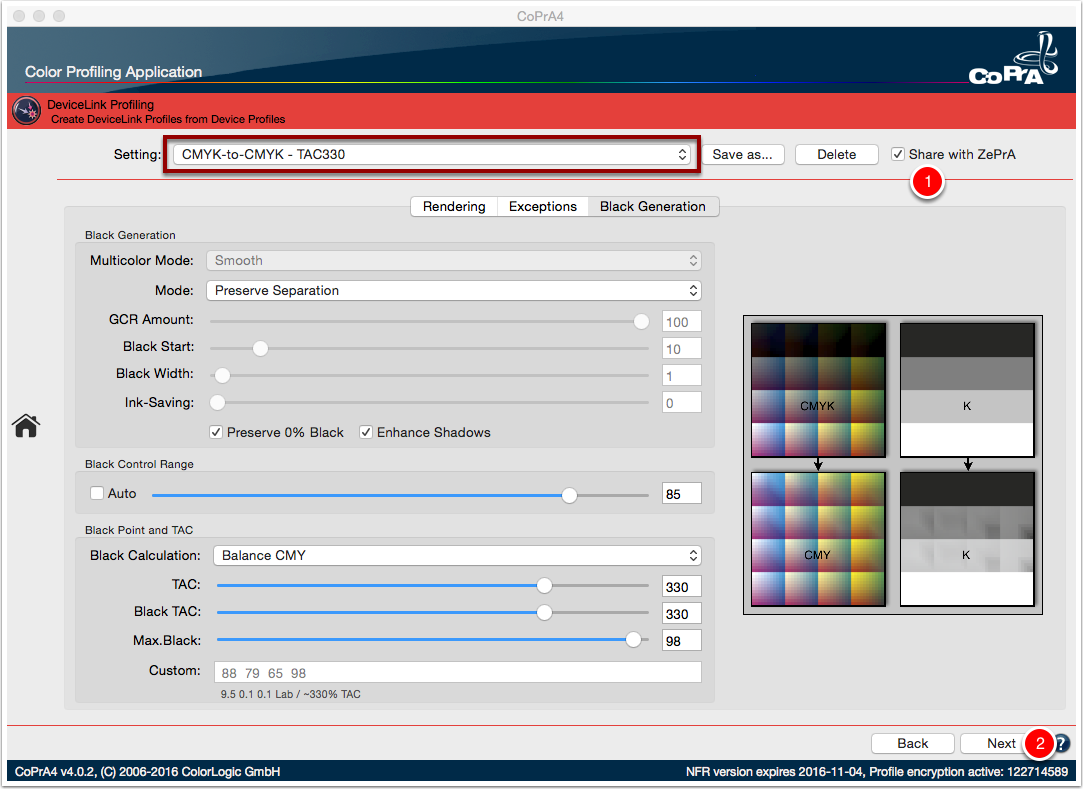
NOTE: Always select "Preserve Separation", so that the black and color composition is preserved. When CMY colors are reduced, you can use "Enhance Shadows" to slightly increase black again and thus maintain the contrast range. If you additionally want to be sure that CMY color combinations not including any black are still composed without black after conversion. In order to preserve overprinting properties, you should select "Preserve 0% Black".
NOTE: The Black Control Range should be set to "85", in order to achieve the smoothest possible transition in the shadows.
NOTE: Using Black Calculation "Balance CMY" keeps your black point neutral. (First choose the "Target Profile" mode, in order to automatically adopt the Total Amount of Color (TAC) and the maximum black value from the selected target profile, and then set "Balance CMY", so that CoPrA can calculate the best possible neutral black point.)
NOTE: The DeviceLink profile setting will be available in the SmartLink feature in the color management server ZePrA. The profile setting can be selected and used in ZePrA to build DeviceLink profiles on-the-fly.
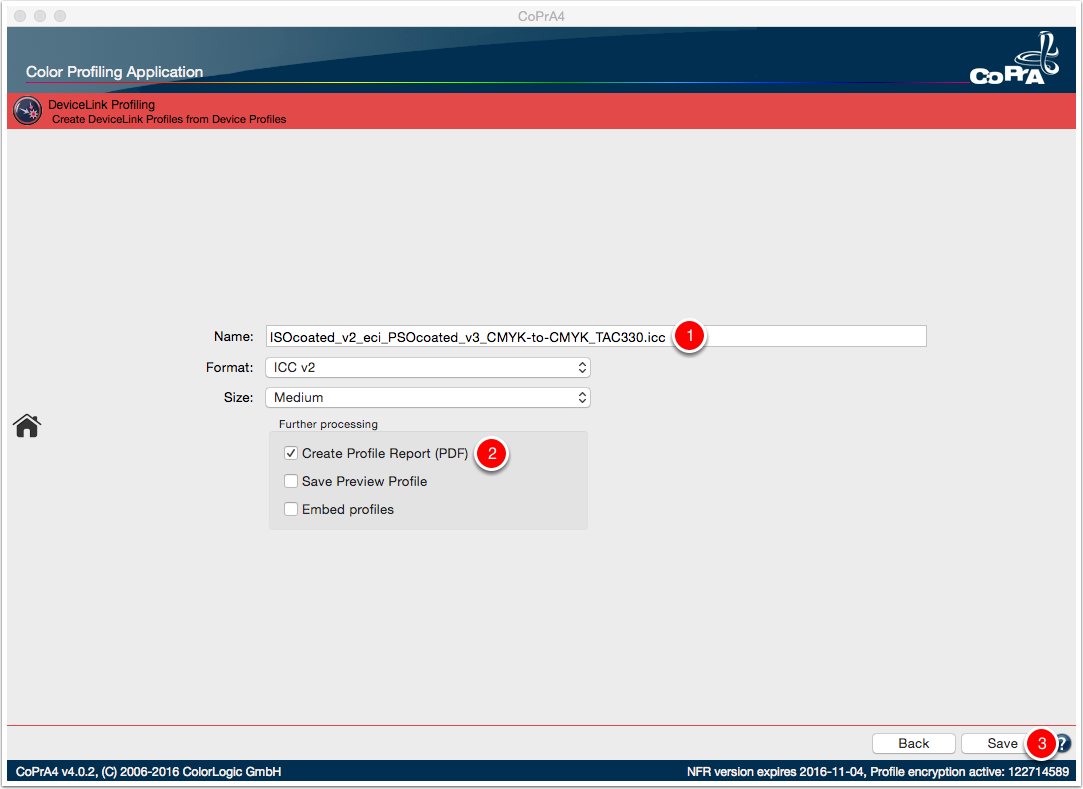
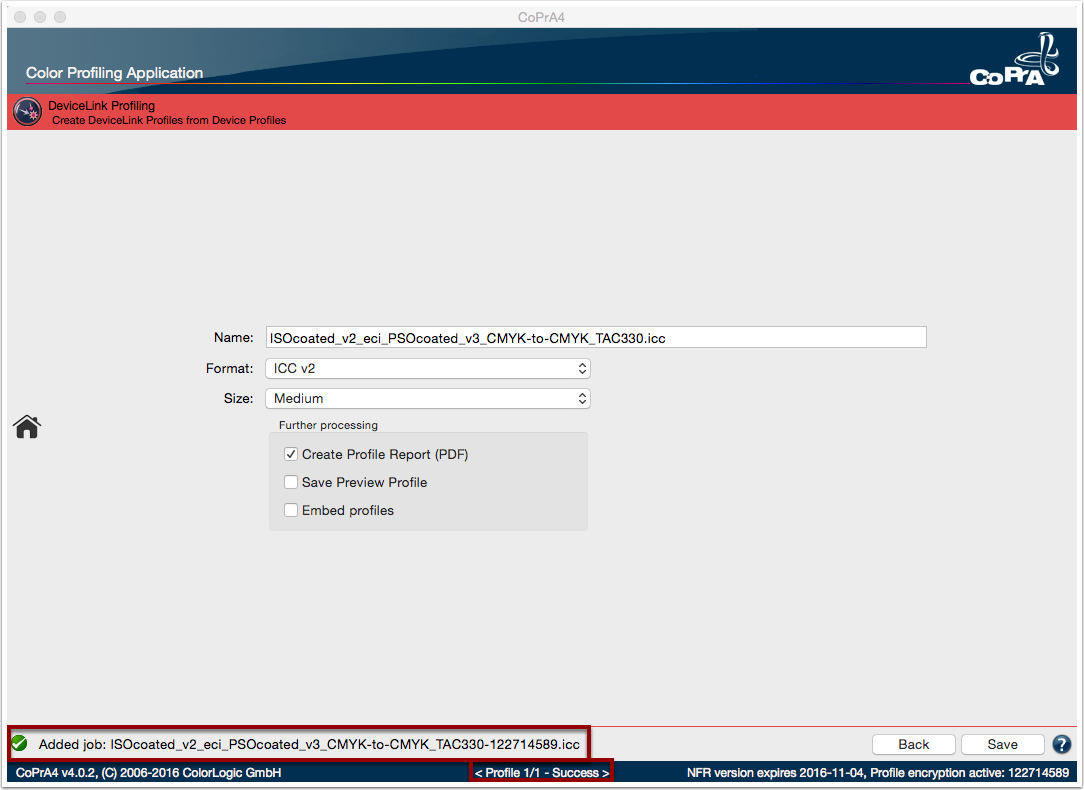
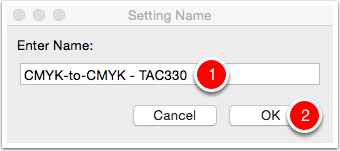
The DeviceLink profile "ISOcoated_v2_eci_PSOcoated_v3_CMYK-to-CMYK_TAC330.icc" is successful created in the ColorLogic shared folder (Users/Shared/ColorLogic).
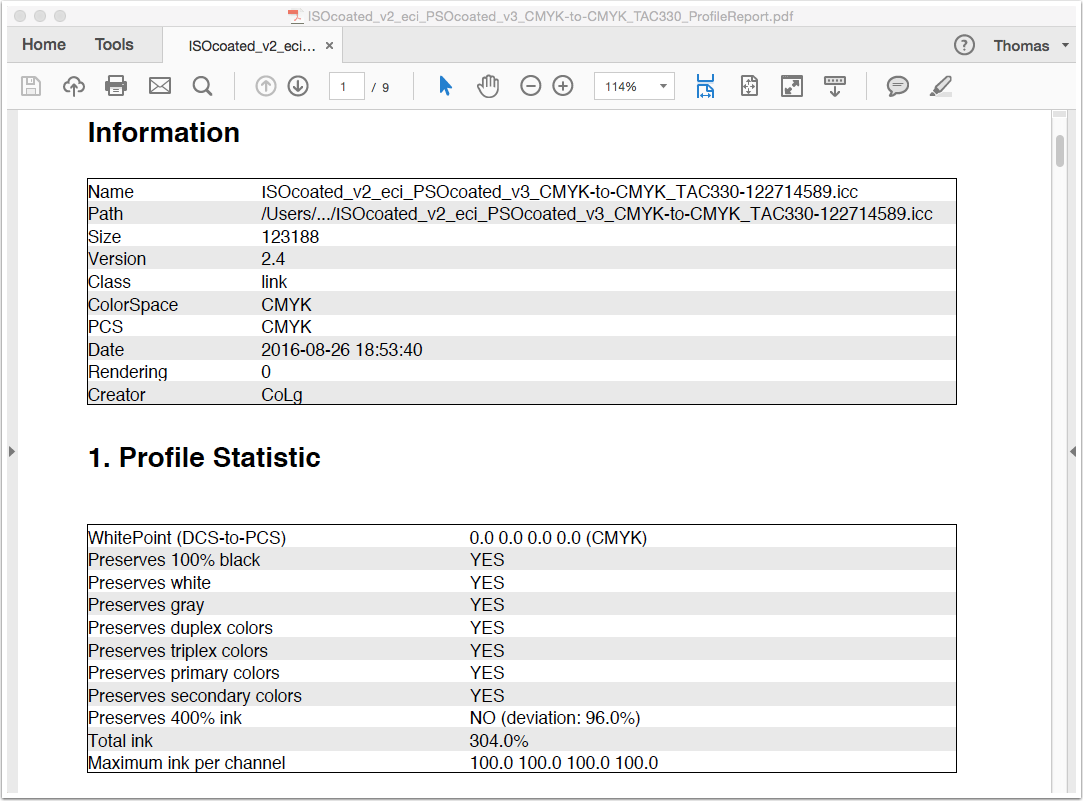
The profile report from the created DeviceLink profile opens automatic in your default PDF reader. The report contains profile statistic details, gray balance curves, gradients curves and sample images. The report is saved in the CoPrA "Reports" folder (User/Documents/CoPrA/Reports).
Did you like the video? Then you might want to have a look at related videos in the following playlist!
Nous utilisons des cookies pour suivre l'utilisation et les préférences. Pour en savoir plus, consultez notre page sur les cookies.